Plastering Over Wagos Or Crimps Or Ashly Or Line

Talk Electrician Forum

Help Support Talk Electrician Forum:

This site may earn a commission from merchant affiliate links, including eBay, Amazon, and others.

HammerMan

Member
Joined
Jan 21, 2014
Messages
17
Reaction score
0
Hi all,

Before I start I'm guessing this has been talked about over and over again and I have read several threads about this, some quite old, so apologys but wanted to get a more updated view.

I would like to know the best (safest and i guess meets regs) method to move sockets where extending the cable is the only option and being able to bury the connection in the plaster board / wall and plaster over, never to be accessed again.... hopefully!

I have read all about WAGO connectors in WAGO box, are these classed as MF yet? and how do you bury such a big box in plaster?

I have also seen the LINE products with the LINE enclosures which look smaller to bury in plaster board and are MF are these best to use?

I have also seen the Ashly JB MF boxes, I guess these are not as deep as the WAGO box at 30mm and can be buried in the wall and then plastered over bit easier?

Or is simply crimping using a Racheting Crimper the best method, and would these need to be in a box in the wall or can you simply crimp, heat shrink and place into the chased out section of the plaster board and plaster straight over the top?  - but should you crimp solid core copper? I have heard both yes and "you would be stupid to"

cheers guys

 
If I have to then I crimp with heat shrink type crimps, not only do they shrink but they go "sticky" and stick to the core like the proverbial. Then heat shrink over the crimp, then with bigger heat shrink go over all three cores of the T&E.

http://www.cablecraft.co.uk/heatshrink-splices.html

Or.......socket on the ring in the wrong place and wires not long enough? No worries, first badly fit a terminal block, then feed as many sockets as you like as a radial forgetting any sleeving. Hammer over the original back box and tile over. Jobs a good 'un:


default_tongue%20in%20cheek.png


Hi OnOff, thanks for the info, so for your standard 2.5 twin and eath you would use the blue heat shrink connectors to connect each of the 3 cores together and then do you just use a normal heat shrink tube to heat shrink all those three together?  What size tube do you recommend for this? (obviously putting the larger heat shrink tub on the wire first before you connect them up so you can pull this back over your three connected cores  )

and if you do this can you just bury that in your plasterboard chase and plaster straight over then?

 
Another query on these splicers, do these have to be rated atall? I mean can you use them to extend 45 amp cooker cable for example? not saying I will just thinking out loud

 
Crimps.....they divide opinion, they really do. Some favour a soldered joint instead. I have to confess to having a foot in both camps on it. Yes the regs on the face of it accept crimps. Yes, I'll occassionally use them and the circuit will test AOK but still in the back of my mind feel "uneasy". Maybe a bit irrational more probably thinking of some peoples strong opinions on the subject? I am though happier using the "sticky" ones as I think they offer a little bit of back up against mechanical seperation. I also think it guards against the moisture out of the render / plaster getting in. Get a decent ratchet crimper for a start and source crimps from a reputable source. And have a practice!

So......in the spirit of the theme (the other option was talking to the wife) I ventured out in the cold and got some bits..........and came back in:

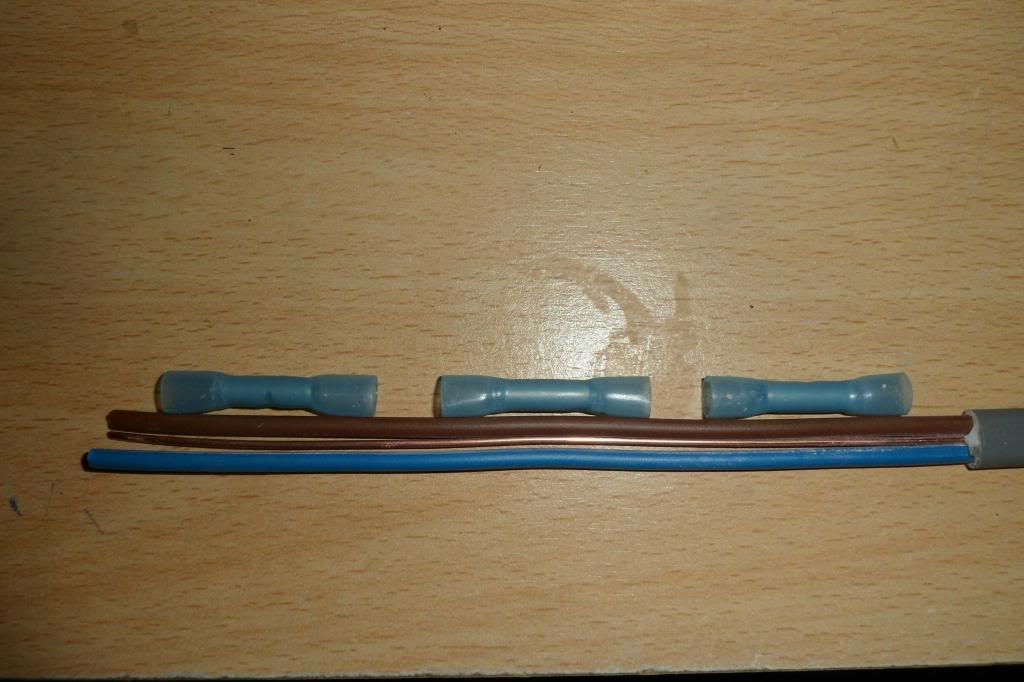
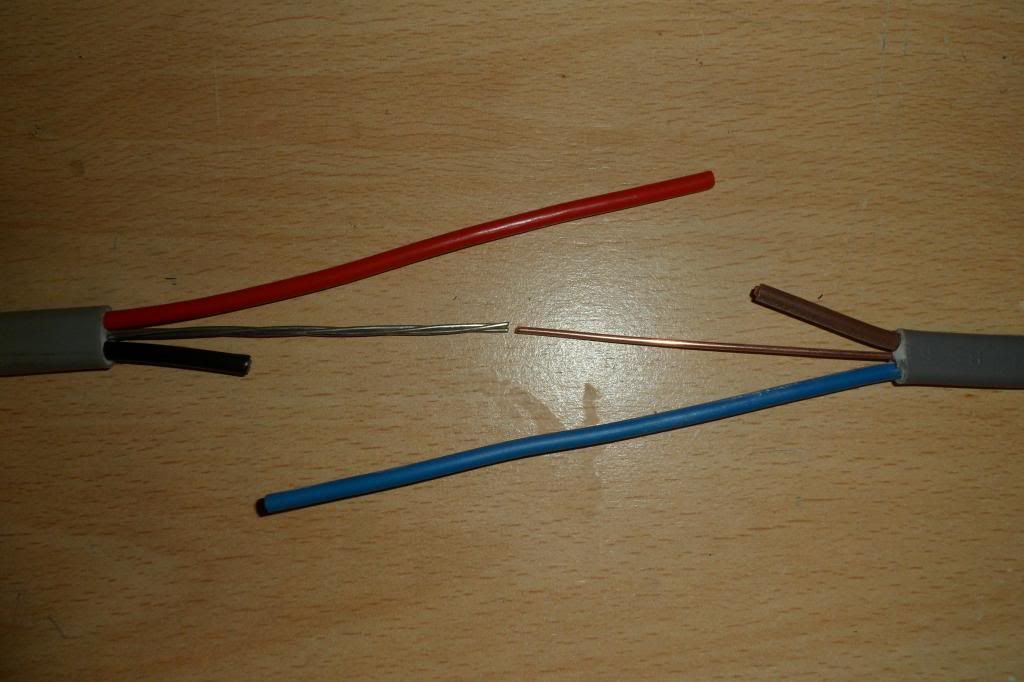
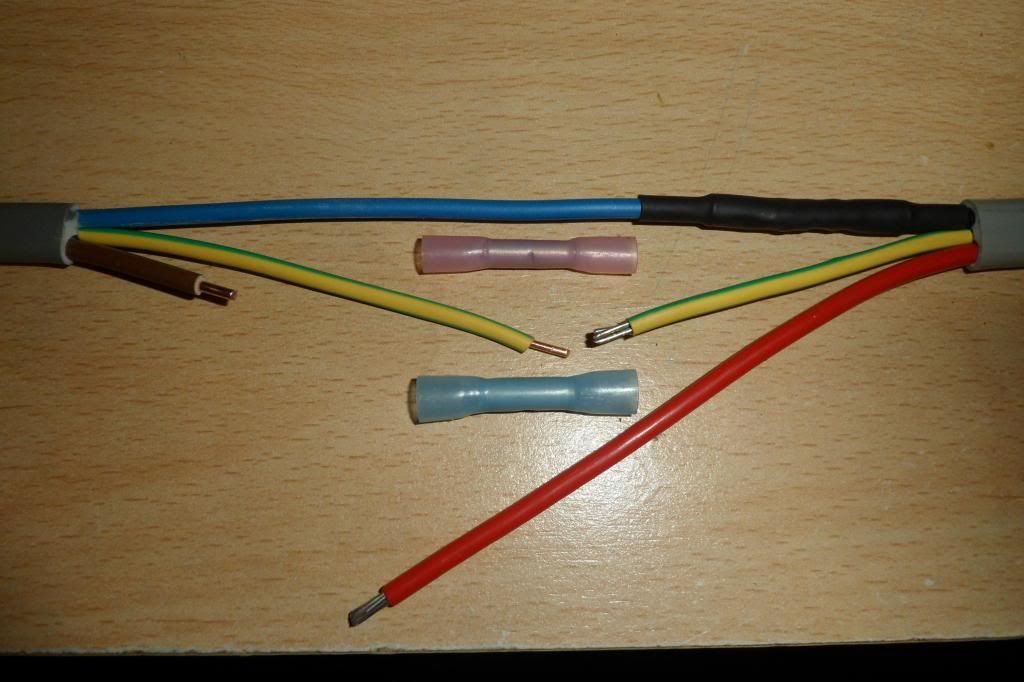
I've taken a bit of brown/blue 2.5 T&E and an old bit of stranded red/black which is what you might find in reality.

My butt crimps are about 35mm long. So that they're neatly staggered and roughly equi-spaced I've stripped back 120mm of sheath of each piece of cable:


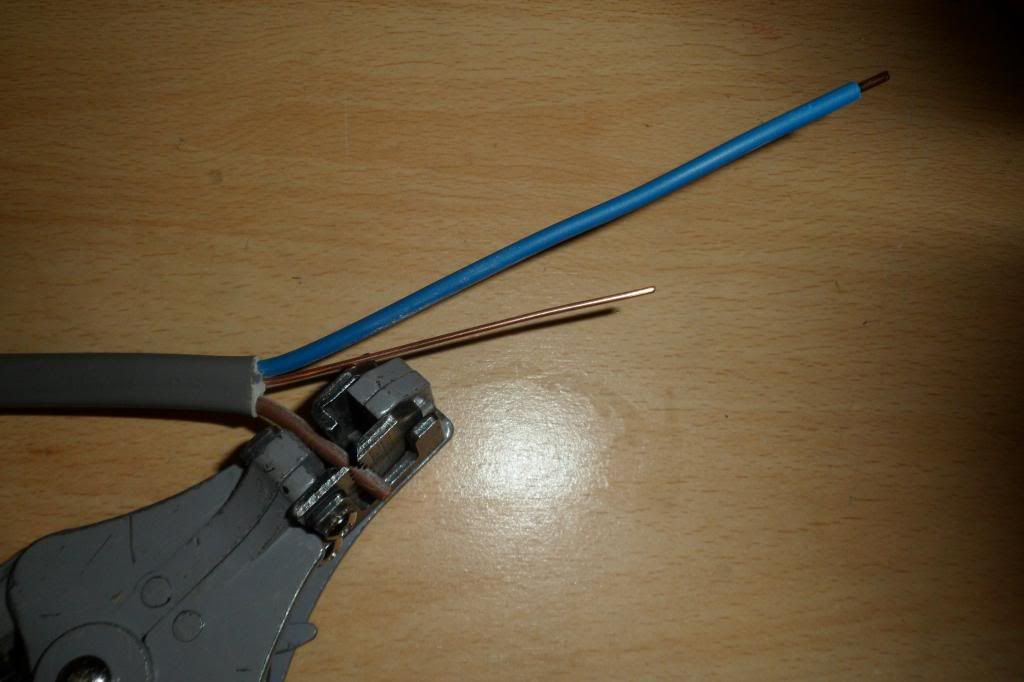
I've cut the cores on the centre line of each crimp:


Strip the ends, leave enough to get your stripper on:


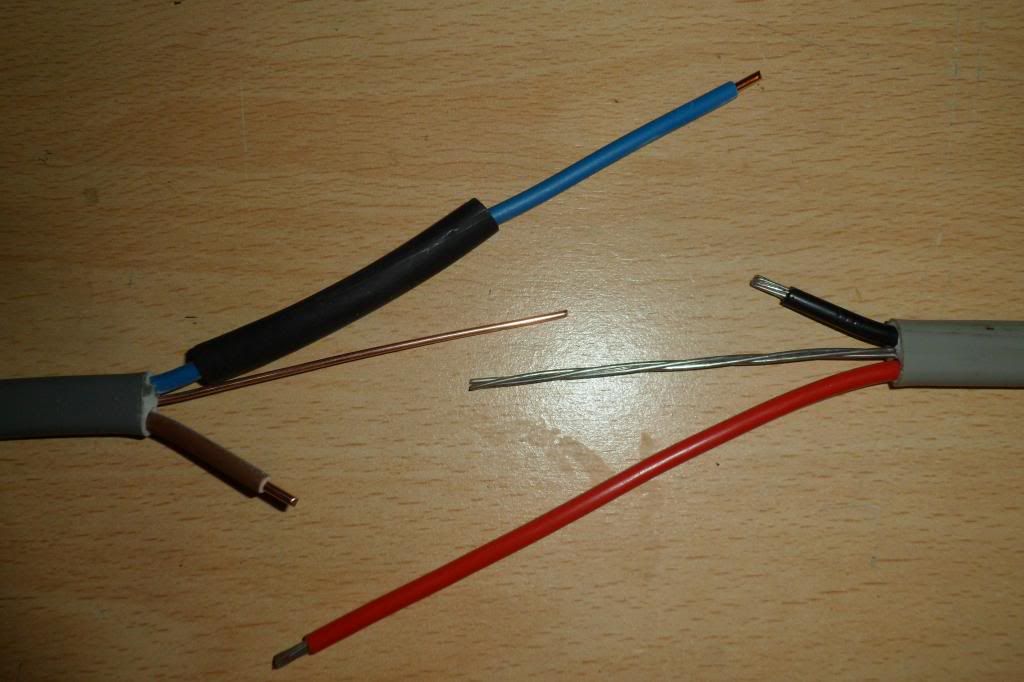
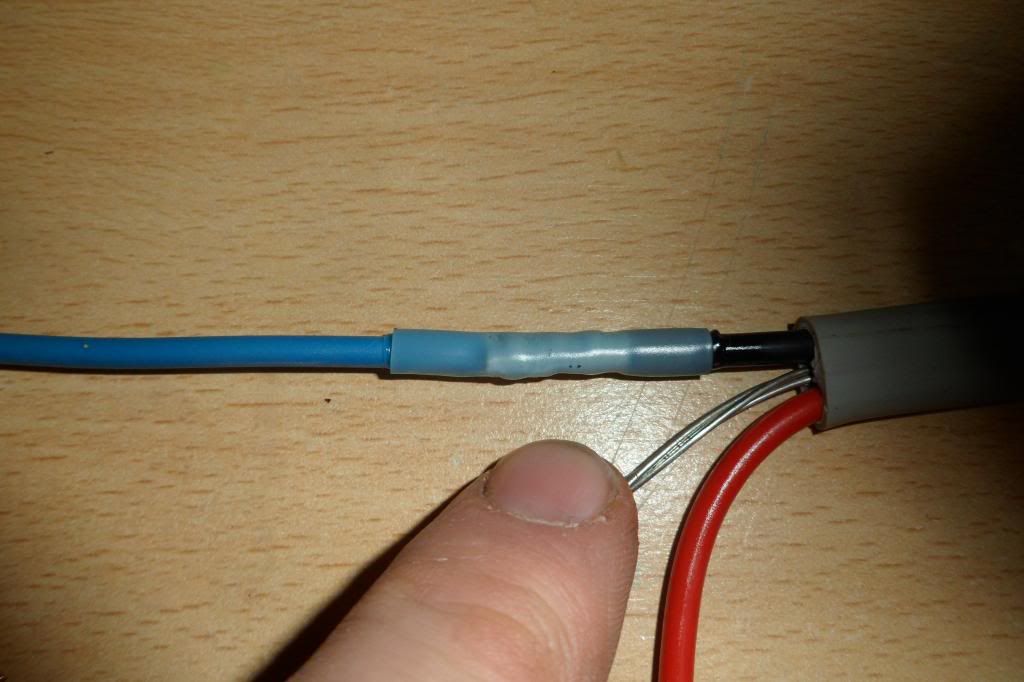
First the blue/black joint. Slip over a bit of heat shrink (YES I'm using the old colours up):


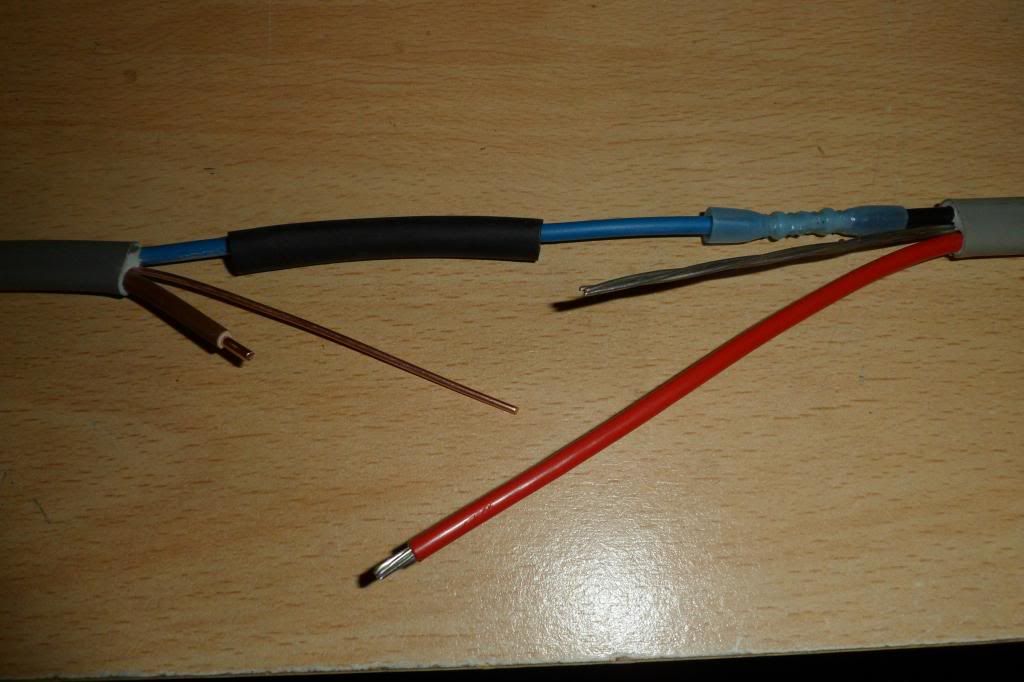
Crimped:


Heat the crimp, I used a hot air gun as I'm pretty deft with it but I've a few little gas torches too. You MUST keep the heat away from the heatshrink for obvious reasons:


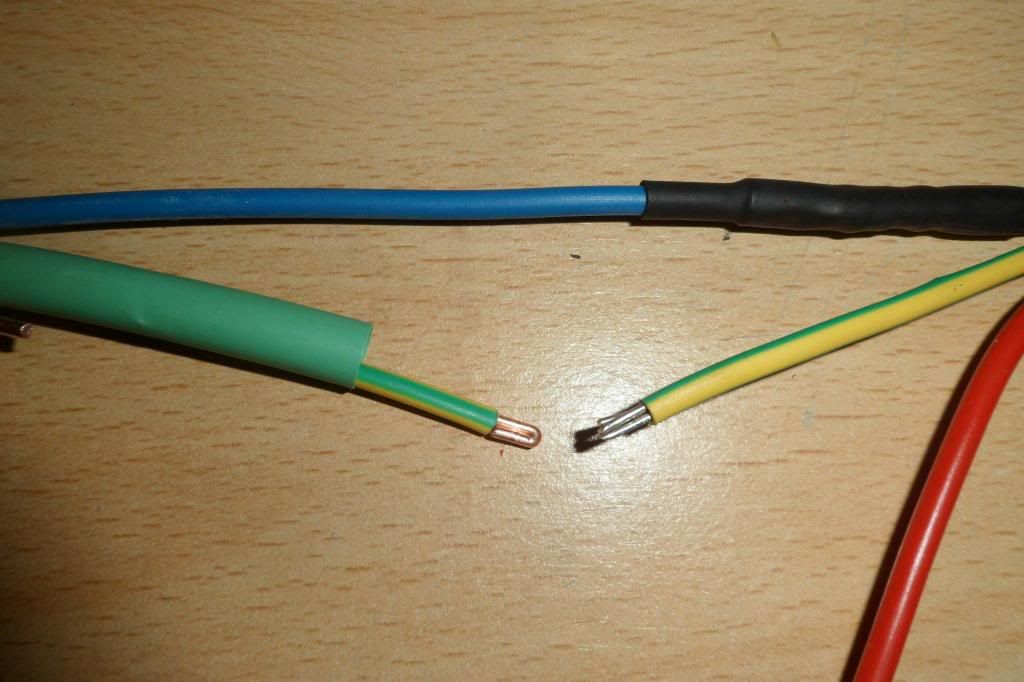
Slip the heatshrink over and do that. Be real careful not to play heat on the CPC sleeving as it's quick to "bubble". Now then the CPC's......two different sizes. Slip the short length of green heatshrink on. On the new T&E the CPC will go into a red but the stranded on the old red/black won't:


So blue crimp it is......but really that might be a tad big for the CPC on the new T&E...........so I double the end over - might need to give the crimp a gentle squeeze to get the doubled end in before you crimp (similar issues if you find old 2.5 with a 1mm CPC):


Heat the crimp, again keeping the heat away from the (green) heatshrink.

Then the brown/red joint.

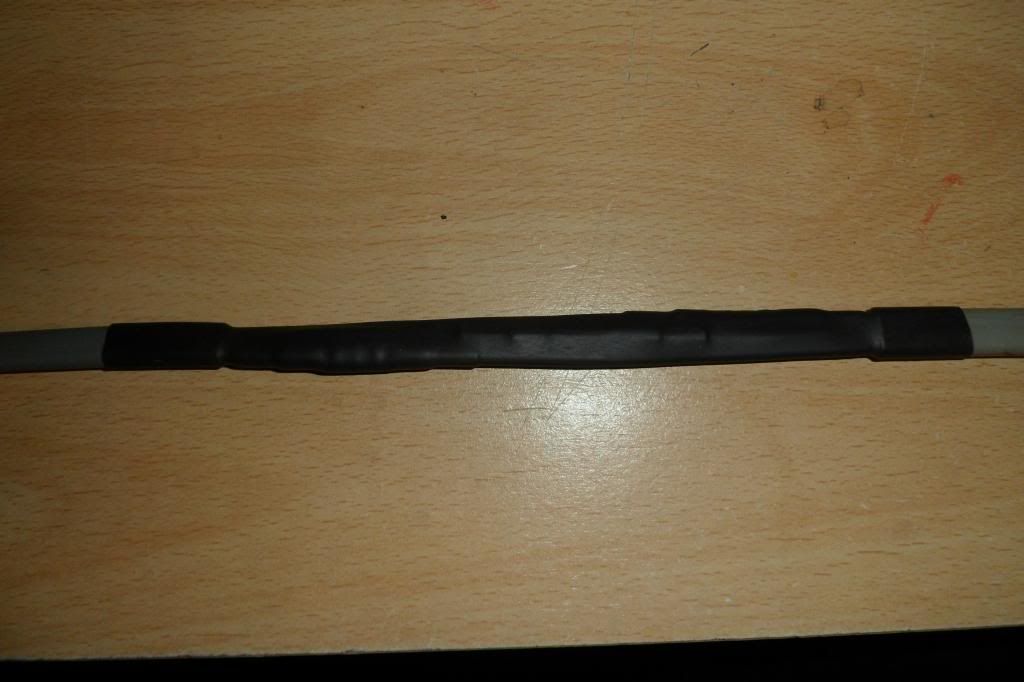
Then 200mm of black heatshrink (sorry, not wasting grey though when I have used it I'll write "CRIMPED JOINT" on it with a Sharpie):


Of course it's dead easy doing it, in the warm, with no pressure and the missus doing dinner! Much harder when you have only 1" of cable to connect to hanging out of the wall and can't fit the crimping tool in there!

As for rating I've seen new cu's put in and the cables extended with crimps. They should be good up to the wire size they're for.

And yes I'd bung this in a chase and plaster over it! Of course then we worry about the effect of plasticisers on the heatshrink...........

EDIT: Nearly forgot! You might want to do your dead tests at least BEFORE you plaster it! :lol:

 
Last edited by a moderator:
Nice,,, but IMHO I feel that heat shrinking the insulated crimps is a little bit of overkill..

Although I haven't used the glue lined heat shrink crimps,, I have used glue lined heatshrink as the outer layer and I do feel that this is better than just the standard heatshrink

 
Nice,,, but IMHO I feel that heat shrinking the insulated crimps is a little bit of overkill..

Although I haven't used the glue lined heat shrink crimps,, I have used glue lined heatshrink as the outer layer and I do feel that this is better than just the standard heatshrink
PM me a snail mail address and I'll send you a few of each.

 
The ones I used had a soldered tube and heat shrink over,,, you do the whole thing with a heat gun, all in one go
I know, like the transporter "rings" in Stargate! :lol:  

Things I'm on about you crimp AND solder through a little square hole - you only get them uninsulated as far as I know.........

 
Just a thought to the OP.............you need to extend the cable (I assume you're losing the original socket?). First obviously keep the chase horizontal/vertical in line with the original socket. Why not go that bit deeper on your chase and lay in a length of PVC conduit? Any issues with your crimped joint and you can whip it out.

 
Top