Solution For Scorched / Crumbling Ceiling From Overheated Downlights?

Talk Electrician Forum

Help Support Talk Electrician Forum:

This site may earn a commission from merchant affiliate links, including eBay, Amazon, and others.
Joined
Nov 28, 2009
Messages
14,720
Reaction score
891
Called to a newish bungalow (completed 2007)  New owner just moved in.

He was concerned all the kitchen downlights looked "scorched"

He changed the GU10 halogens for LED's, but one fitting fell apart, that's when he called me.

Yes indeed, in the kitchen there are black scorch marks around all the fittings.  I popped the failed one down from the ceiling, and sure enough insulation over the top of the fittings so no wonder they got hot and very bothered.

But the problem, is the one I popped out of the ceiling won't go back. The plasterboard has been so scorched, it's brittle and has crumbled, so there's nothing for the retaining springs to bite on.

I left that one hanging and the owner is going to experiment with various adhesives and sealants, not to stick the light fitting in place, but to try and create a reinforced ring around the crumbling hole that the light fitting will fit into.

Now the perfect solution for this would be cut out the damaged areas, cut in new bits of plasterboard, cut new holes and skim the whole ceiling.

Has anyone had any success trying to patch up such a scorched, crumbling ceiling if so what adhesive / sealant / or other method worked?

 
ah,

Ive had similar in the past,

used those big multi-fit things that are actually meant to convert [for instance] a 150mm hole into a GU10 fitting,

Im sure they are fairly widely available.

something like this

 
Yes that's a possibility.  I've used them before for their intended purpose of fitting into a larger hole.

they do look carp though, they just scream "I'm covering a big hole from an old type fitting"

 
Last edited by a moderator:
How thick is the plasterboard? 1/2"? 

Only because I have  selection of giant Starretts I think I might try and make some plasterboard "Polos" from another sheet of plasterboard. Then split them in two - this would allow you get each "half" up through the existing hole. Then stick them to the top side of the existing holes. YES you would end up with double thickness of p'board. Also you would have to be careful NT to disturb any hoods. The springs on the lights should then grip the NEW board pieces.

 
Cut out, couple of bits of batten screwed to the original ceiling, let in a piece of plaster board, secure to the batten with screws, & fill?

Then re-cut the holes.

Depends on the ceiling finish really.

Remember that "Artex" is classed as an ACM, unless proven otherwise!

 
Yes as I thought. a lot of bu******g about.  I'm an electrician, not a decorator.

Those large converter fittings are starting to look attractive after all.

 
Yes as I thought. a lot of bu******g about.  I'm an electrician, not a decorator.

Those large converter fittings are starting to look attractive after all.
You are kidding aren't you?? :eek:

I've got a similar one with 90mm holes in that plastic ceiling stuff and 70mm (ish) fittings

I'm going down the route of some 85mm tilt fittings with LED lamps

 
Yes as I thought. a lot of bu******g about.  I'm an electrician, not a decorator.

Those large converter fittings are starting to look attractive after all
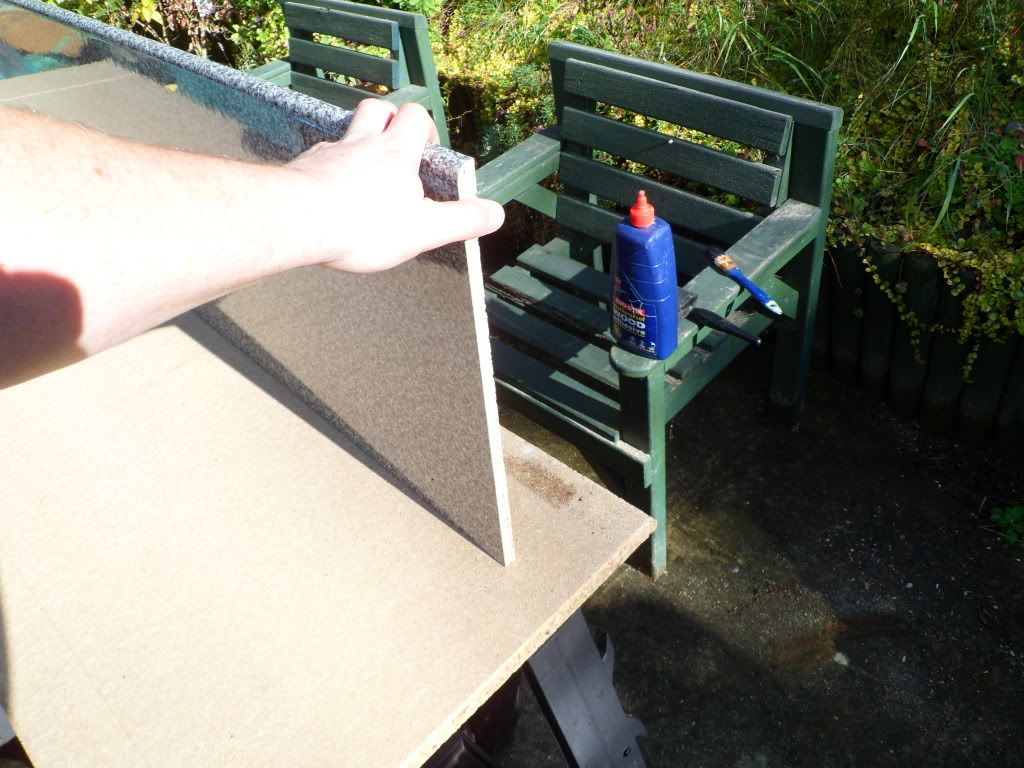
I love a bit of buggering about me.......................this from the man who THINNED down a 40mm thick worktop to 1/2" as I'm too tight to buy a splashback:


Mind you the ALDI router I did it with nigh on caught fire yesterday!

 
I'd have been down a customers to use a calibrating sander, or a CNC router, if I HAD to do that!
Think about it................it got me away from her indoors for HOURS! TBH I would have just gotten a sheet of polished stainless from my fabricator and affixed it with some mirror screws but SHE wanted it the same as the worktops!!!

 
Think about it................it got me away from her indoors for HOURS! TBH I would have just gotten a sheet of polished stainless from my fabricator and affixed it with some mirror screws but SHE wanted it the same as the worktops!!!
Recently it  took me two days to paint the fence in the back garden, the Mrs was moaning saying its a  good job your not a decorator!

I dont think she understood that being outside, in the sun, with a 4 pack of refreshments, away from a constant earbashing and Eastenders and all that carp on tv was my reason for taking so long! :D
:pmsl:

 
Hey Steps,

I know why your laughing its cos your taking the P, but they dont do Peroni in anything bigger than a 4 pack!

 
a 4 pack,

a bloody 4 pack,

I suppose I'd probably have got to getting the lid off the tin by then........

of course they do it in more than 4pack,

your missus is having you on, keeping you on a tight leash, methinks.  :|

 
Hey Steps,

I know why your laughing its cos your taking the P, but they dont do Peroni in anything bigger than a 4 pack!
4 four packs can be turned into a 16 pack by the judicious application of some cling film or gaffer tape

You can even make a 20 Pack if you like , or indeed any multiple of 4

Just helping you to prolong the painting trauma

 
a 4 pack,

a bloody 4 pack,

I suppose I'd probably have got to getting the lid off the tin by then........

of course they do it in more than 4pack,

your missus is having you on, keeping you on a tight leash, methinks.  :|
Yes I know what you mean about being kept on a tight leash,Ive now even got a bald patch on top of my head now after 12years of marriage (note to oneself : get anniversary card for next weekend!)

Well, as for the Peroni I think I'll have to hack into the online shopping when the good wifes not looking and up my beer quota. 

Thinking about it, She has been a bit mean to me this year, she even got me to give up beer totally for lent and that was a killer!

 
While doing a different job, I had a "eureka" moment regarding this problem.

It's all down to the clips.

There are basically two sorts of "clip" that hold downlighters in place.

A proper spring clip that is sprung from the fitting itself so just pushes down from the light fitting onto the inside face of the ceiling.

And those horrible ones that just have a (for want of a better description) a bent bit of spring wire that pushes outwards on the hole in the ceiling to create the downward force on the ceiling.

This crumbling ceiling job had that latter type, and it's the sideways force against the weakened hole that causes it to crumble.

The former type, with a "proper" spring would probably go into this weakened ceiling carefully without it crumbling any further.

Of course if you buy them mail order, you rarely know what sort of spring you get, until you receive them. So best bought from a wholesaler and check first.

 
Last edited by a moderator:
Top