Looks Nice........from The Outside!

Talk Electrician Forum

Help Support Talk Electrician Forum:

This site may earn a commission from merchant affiliate links, including eBay, Amazon, and others.
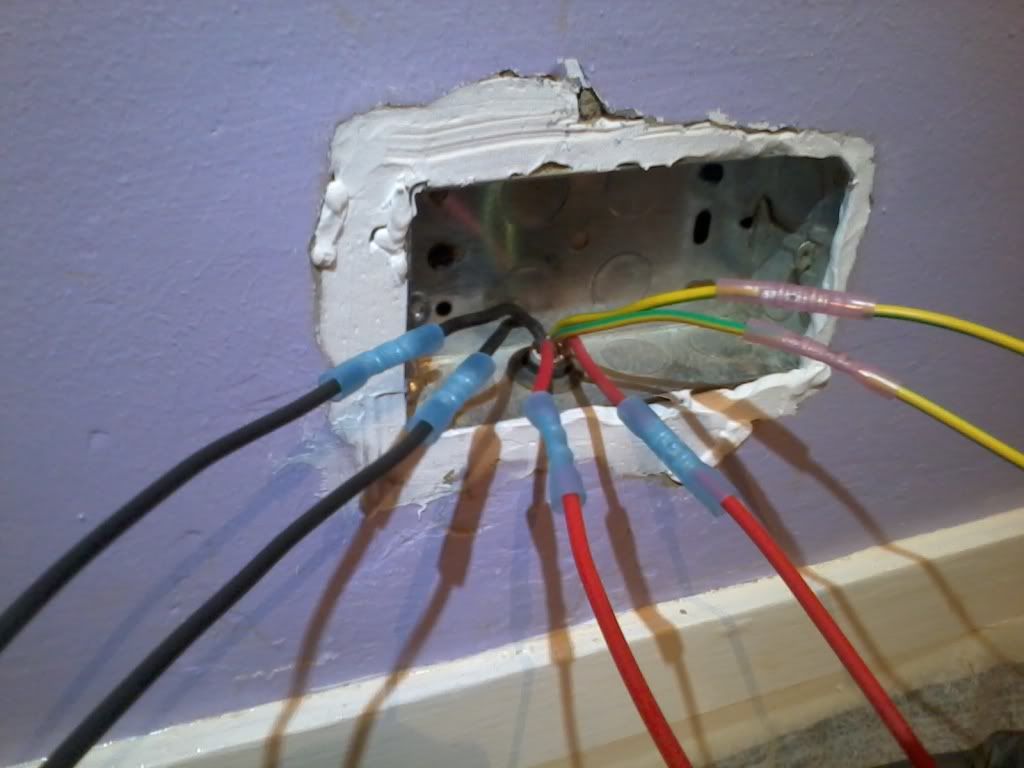
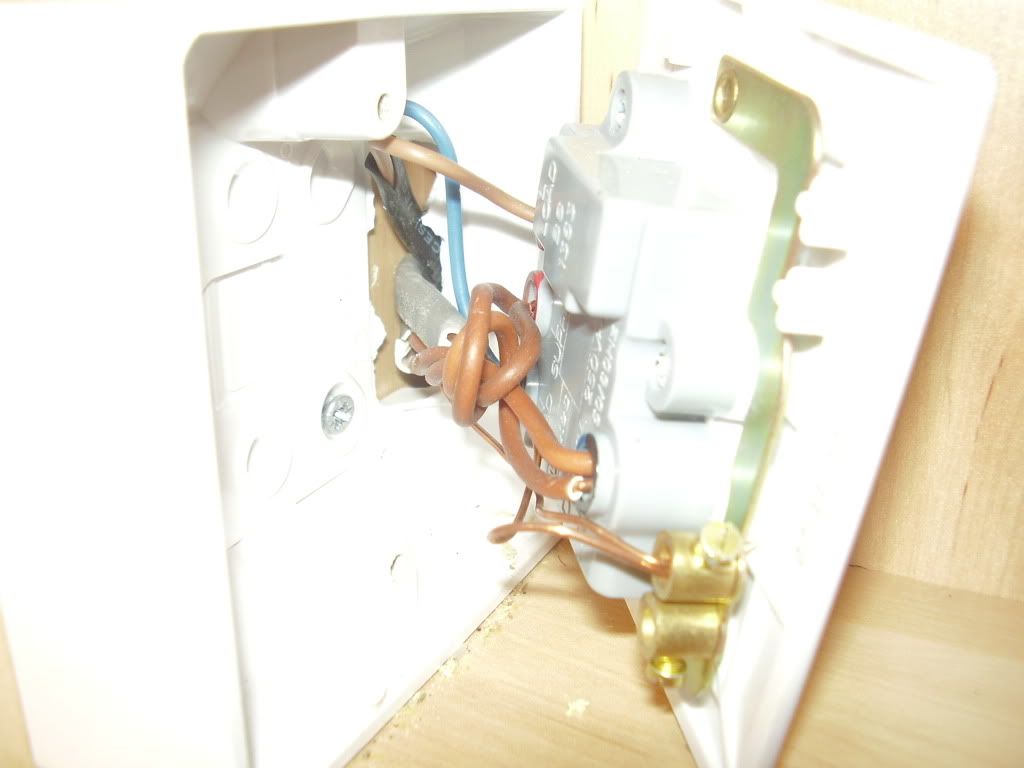
And so to the bedroom...............well the upstairs ring. A spur consisting of a length of 2.5 attached to one of those socket converters. Assume it WAS attached high up on the wall for a TV but found like this with easy access for little fingers to the terminals:
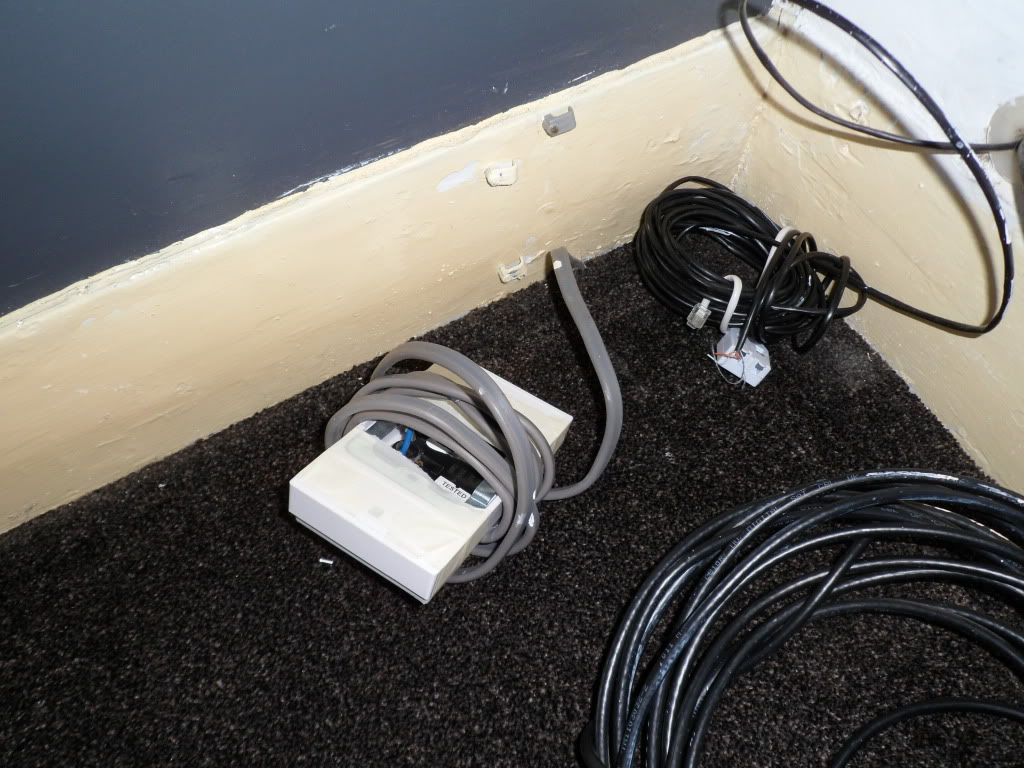
SAM_2890.jpg


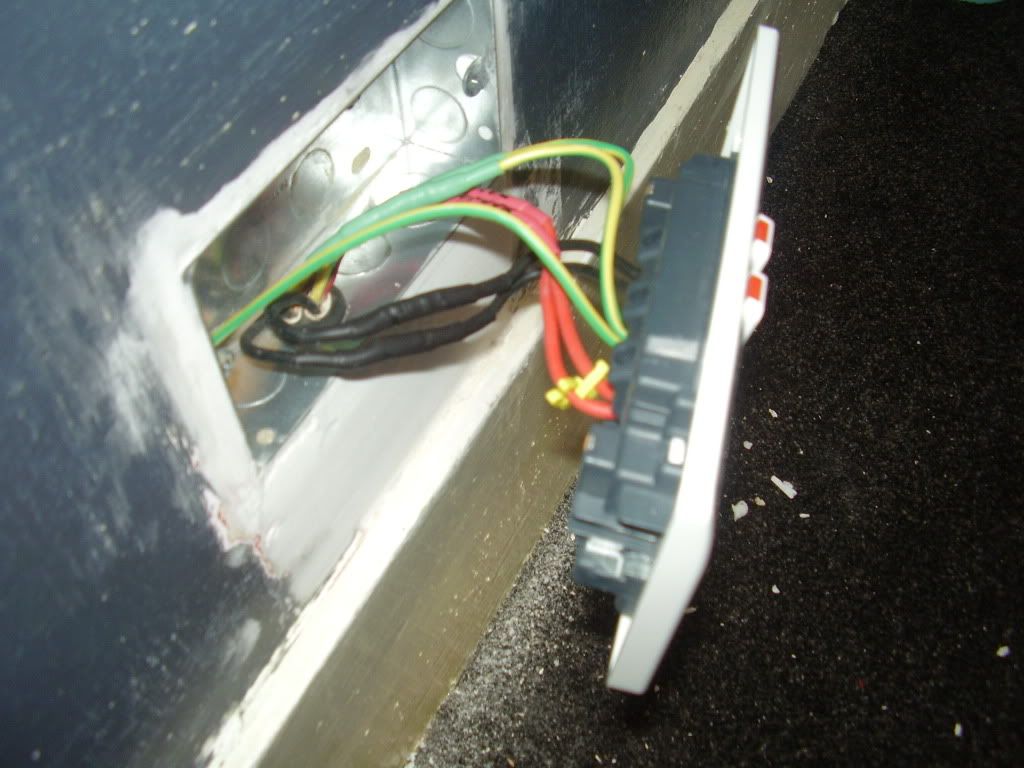
Novel method used. Lop off edge of floorboard, bin piece removed leaving nice draughty gap ........cover with underlay and carpet.
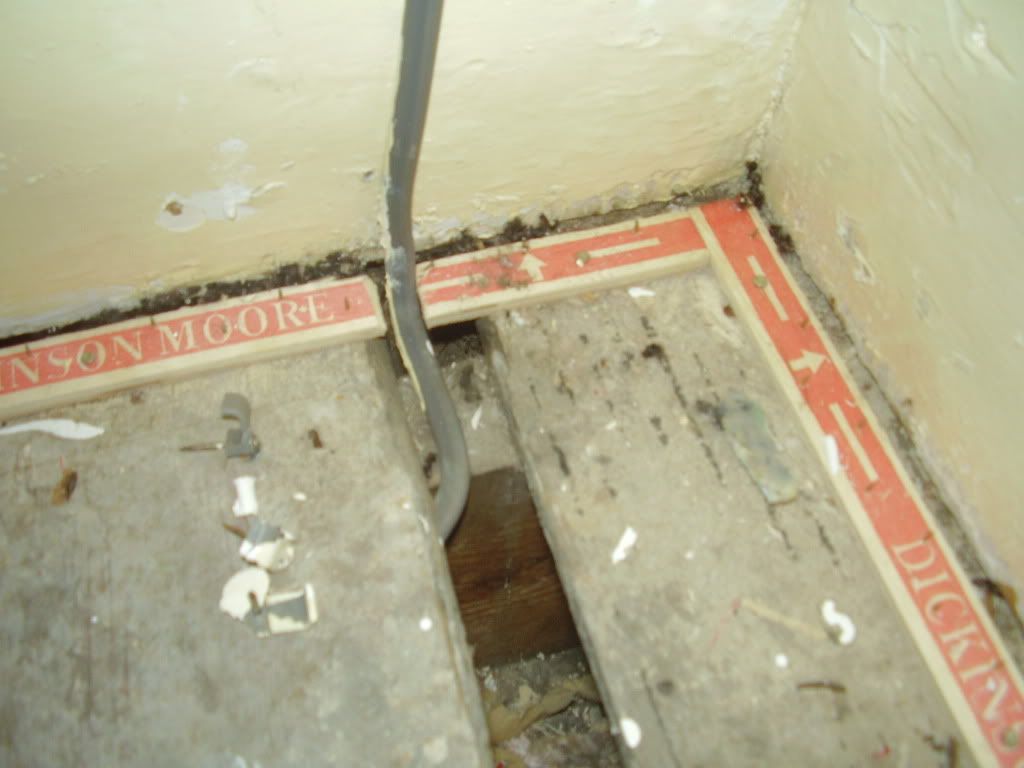
PA270006.jpg


Then just wait for leg of furniture to come along and squash cable!

 
Last edited by a moderator:
Shocking ! an electrocution waiting to happen ! People who have monstrosities like that in their houses need to be hauled before the courts and heavily fined ! think of the extra revenue it could create for the country !.

 
More delving, more WTF moments - excuse the pic quality taken with.an old Olympus 5MP that lives in the tool bag:

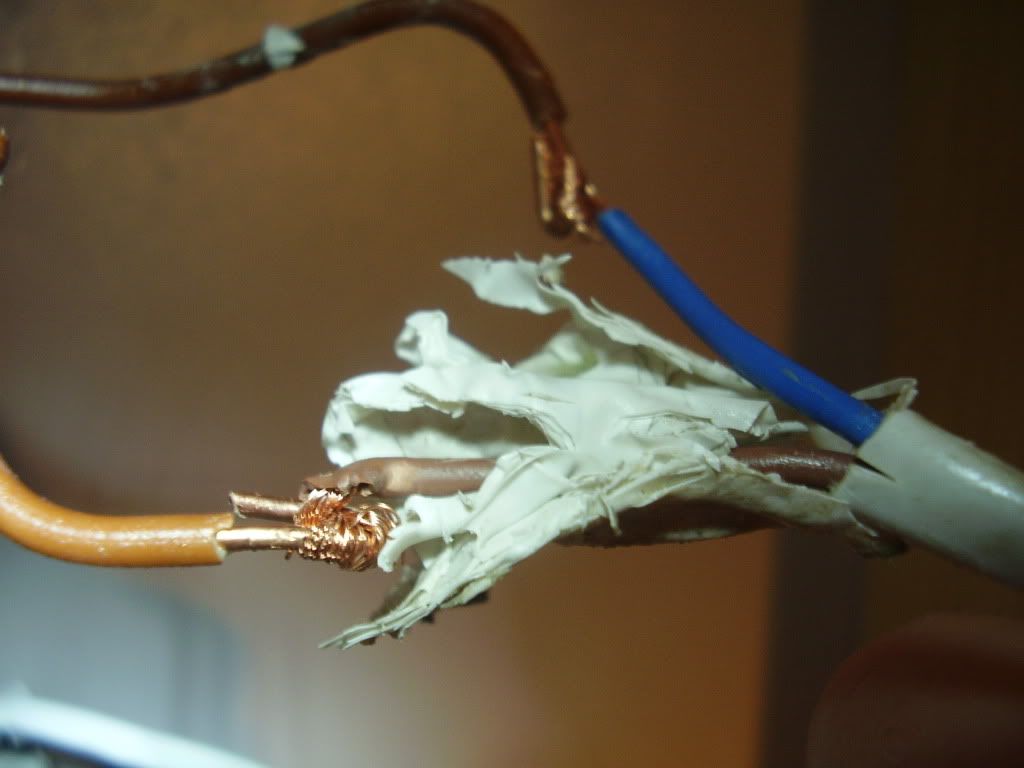
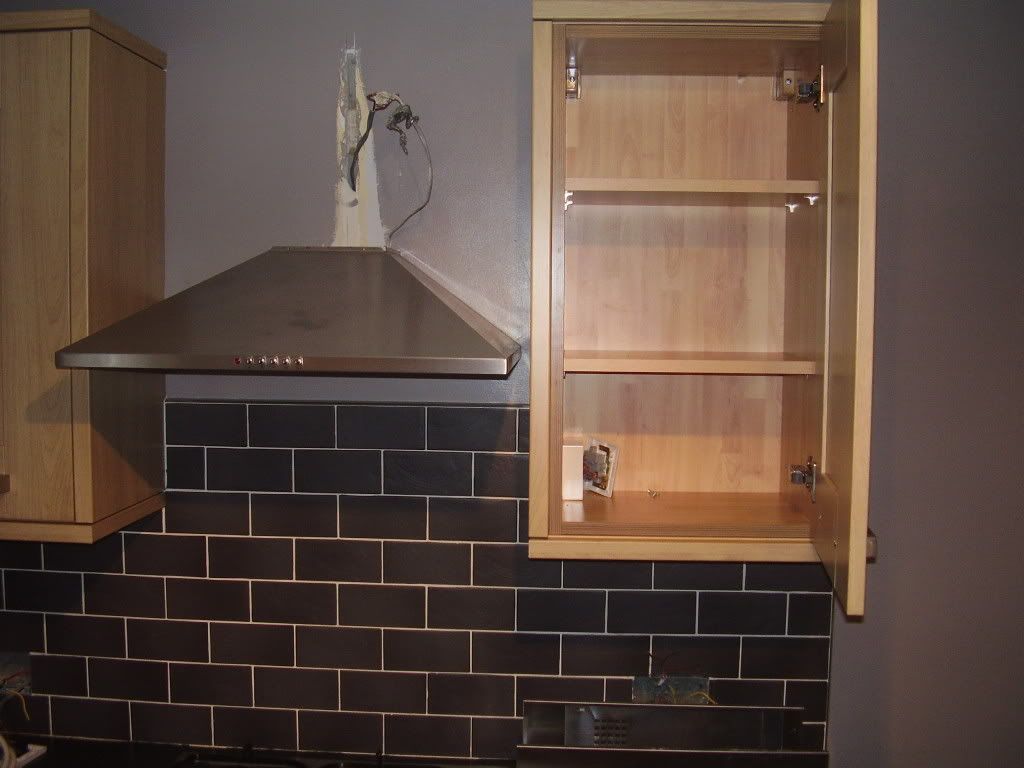
Anyway, you'll remember the earlier pic with the nice T&E / flex joint for the extractor? After careful application of Mr Stanley to remove the duct tape we find the L & N neatly twisted together. Insulation achieved by 2 (possibly 2 and half) wraps of white insulating tape:

PA280038.jpg


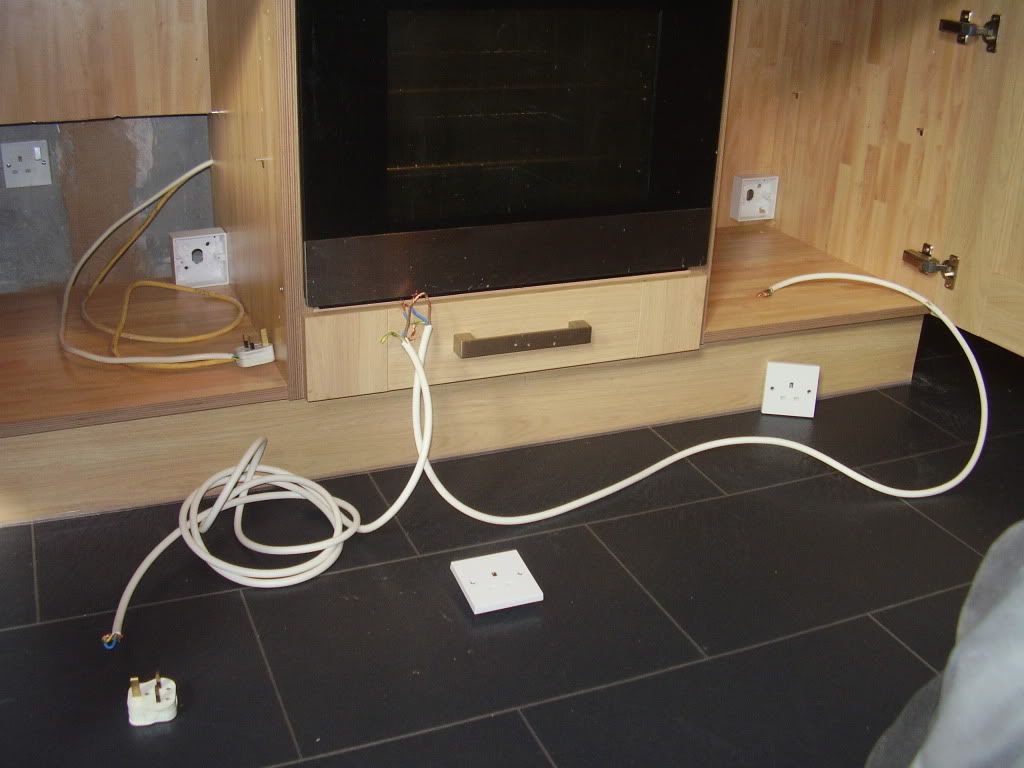
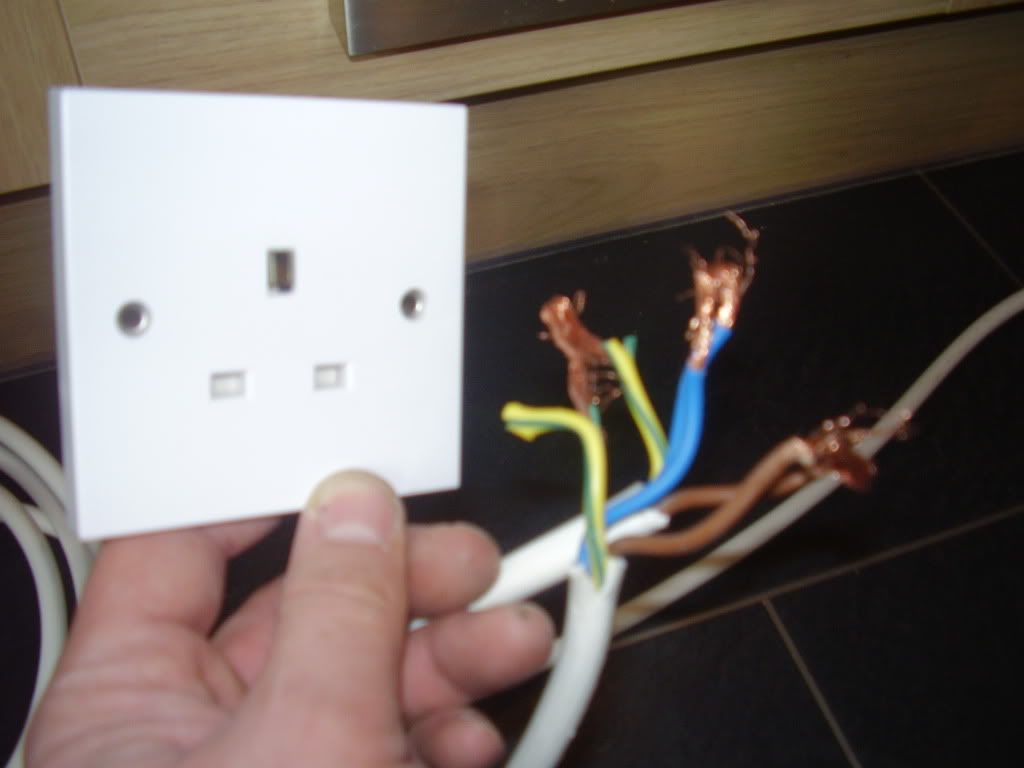
Until I'd removed the back of the cupboard, hoovered underneath and removed the various debris (socks, plastic plate, lumps of carpet, bits of 3"x2" etc, etc) I wasn't sure how the fridge freezer, leccy oven and igniter for the hob were fed. KNOW I know! Single, socket far left on wall in back of cupboard. Make yourself a loom from some 2.5 flex. So.............plug one end into single wall socket - take length of flex to 1st surface mount box (mounted upside down). Into that wire the hob and oven supplies on a single 13A plug top. From the back of the 1st surface mount box simply take a length to feed another socket for the fridge! I suppose it is all on a 13A fuse but....................

PA280015.jpg


PA280017.jpg


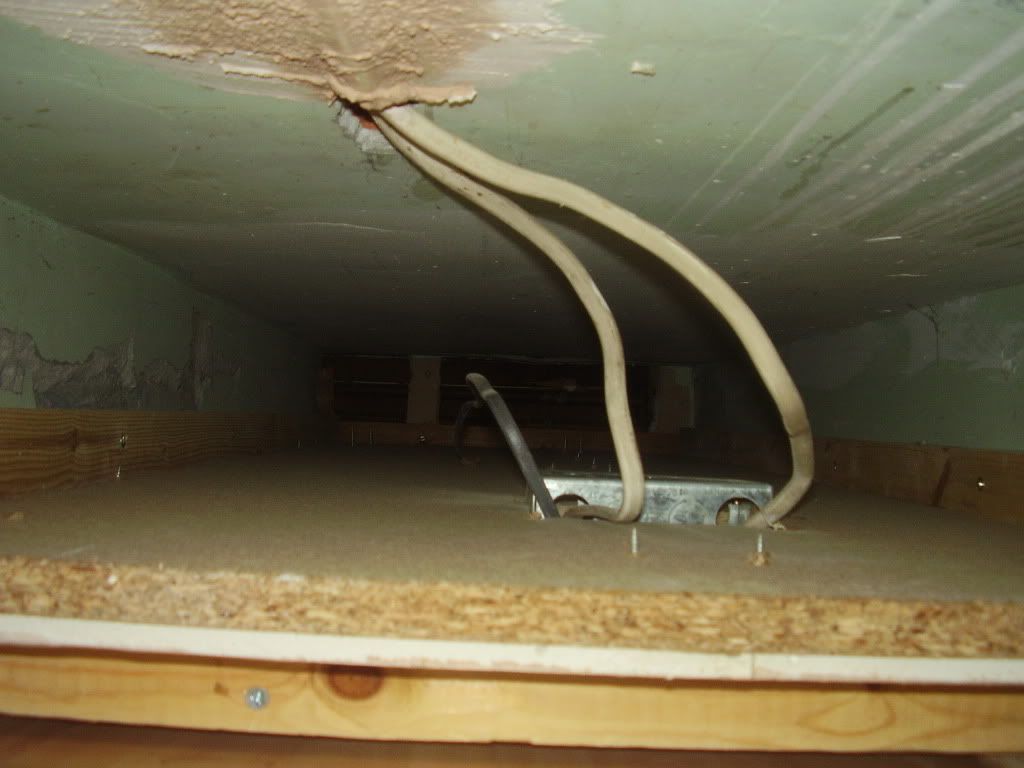
Access into the "cavity" is fun:

PA280019.jpg


What did I find? Imagine your flat on your back looking up:

PA280022.jpg


Now, back to that extractor. Aside from the quality joint............how exactly is it wired? Well, first take a twin brown 1.5 feed from the double below and to the right up to an FCU in the cupboard. Off the FCU feed the under cupboard strip light AND take more twin brown to the extractor. Simples!

PA280043.jpg


PA280041.jpg


Cable routes? I'm guessing the shortest distance between two points? Well it DOES save on cable.................................

 
Last edited by a moderator:
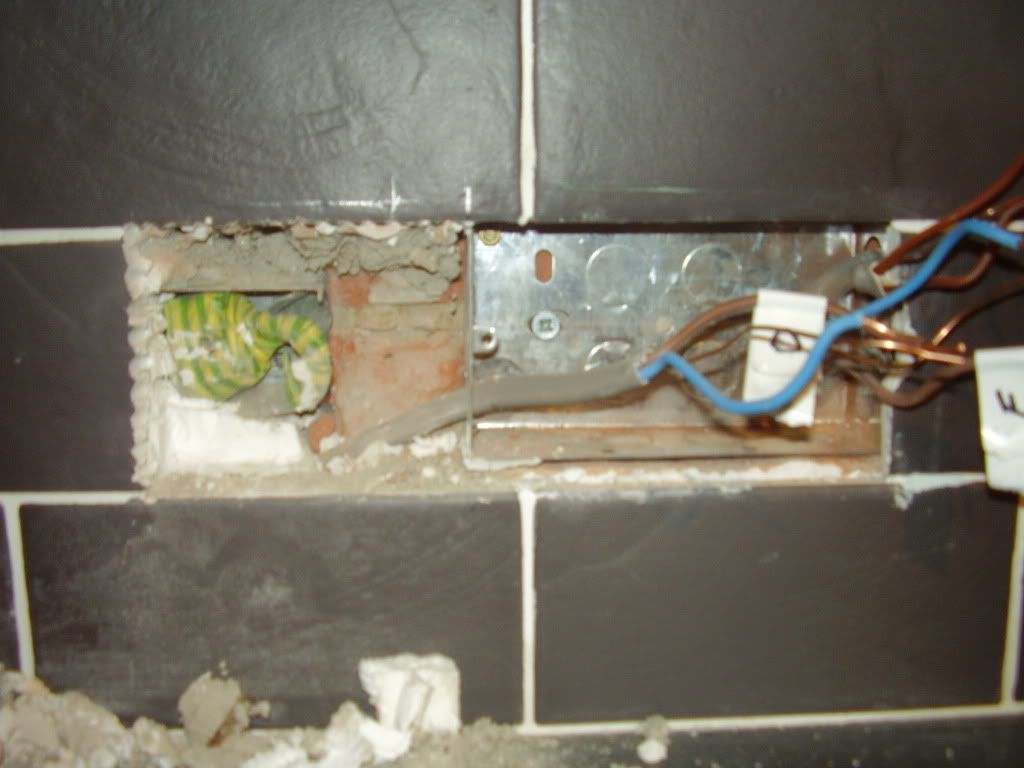
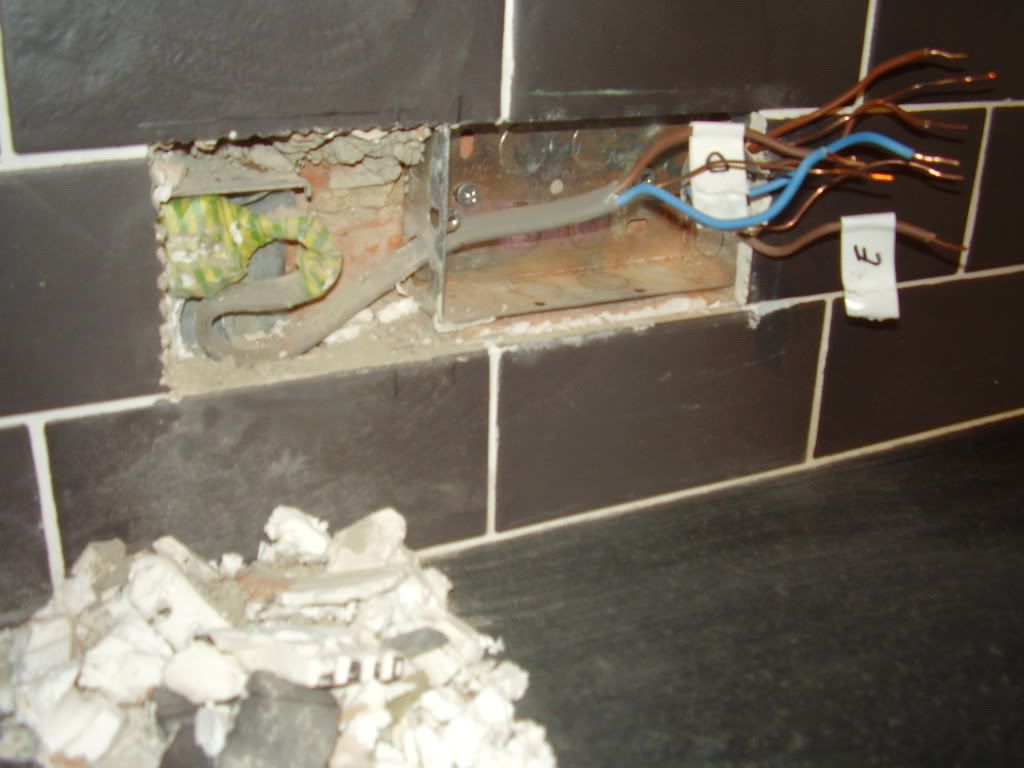
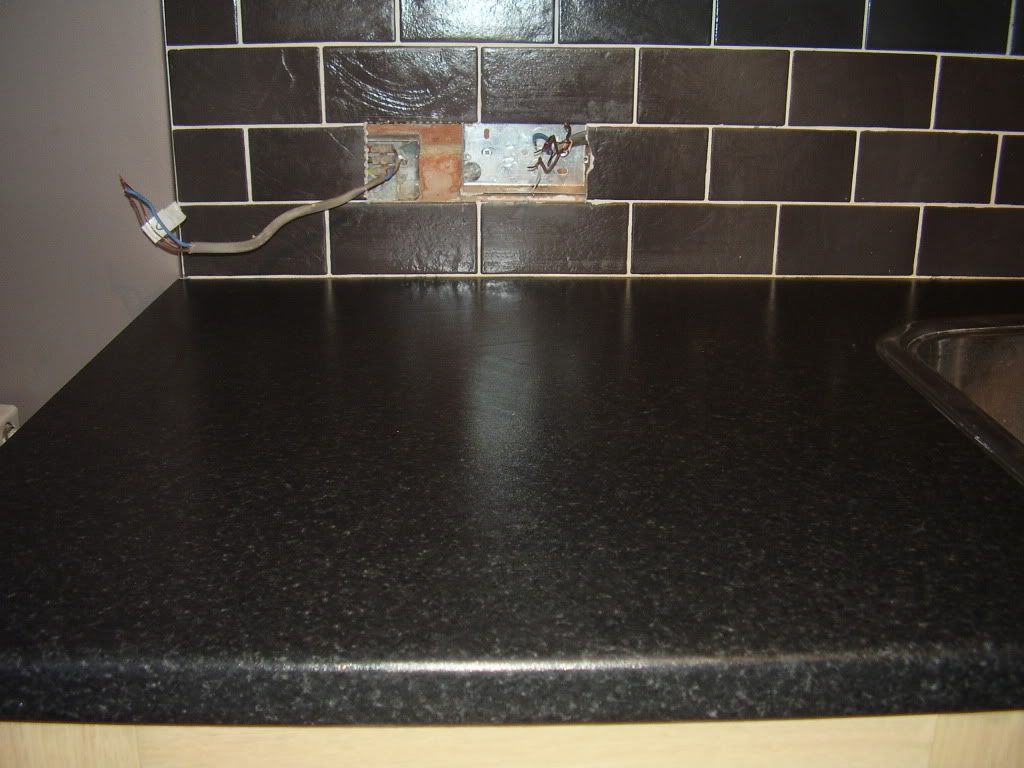
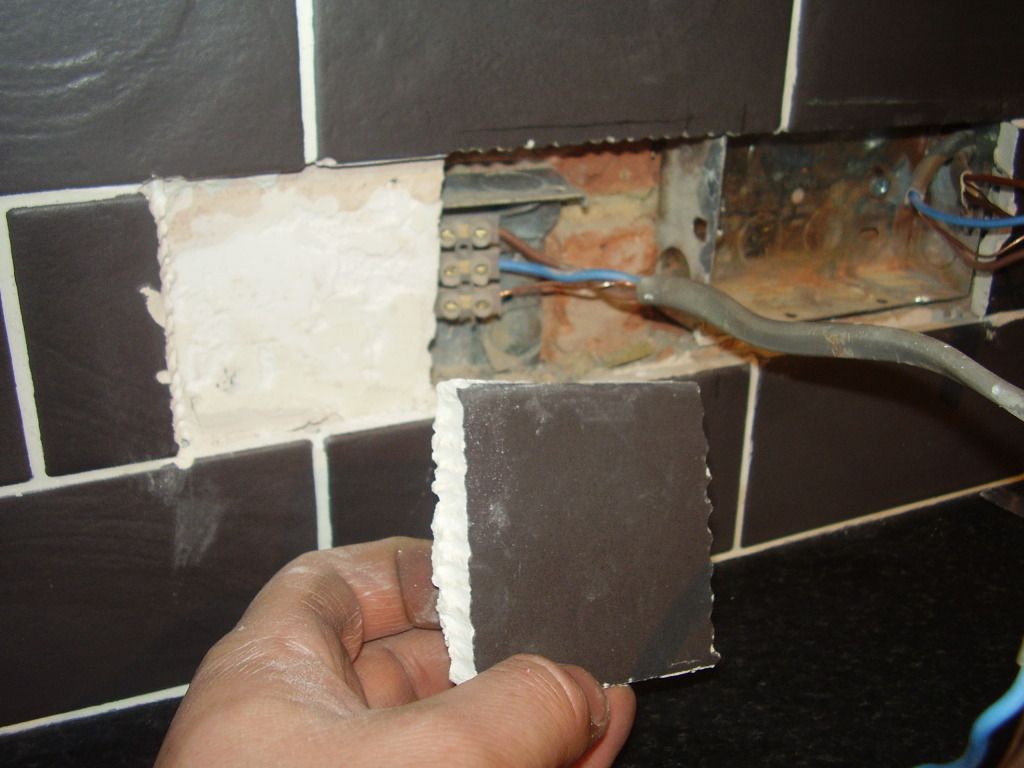
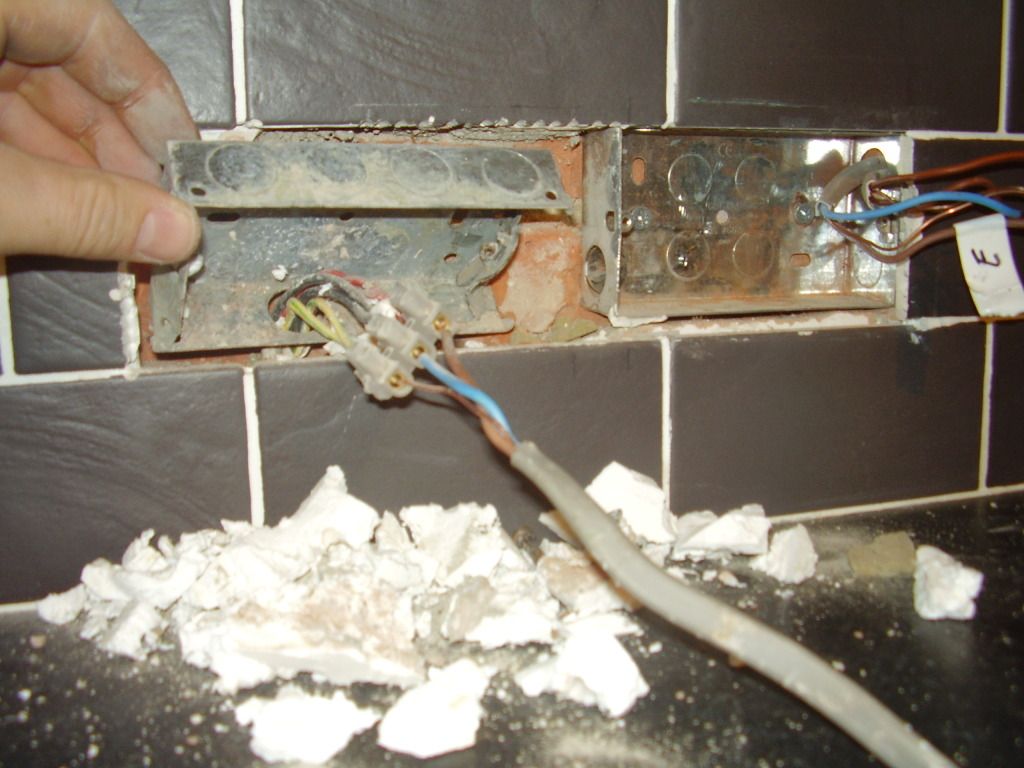
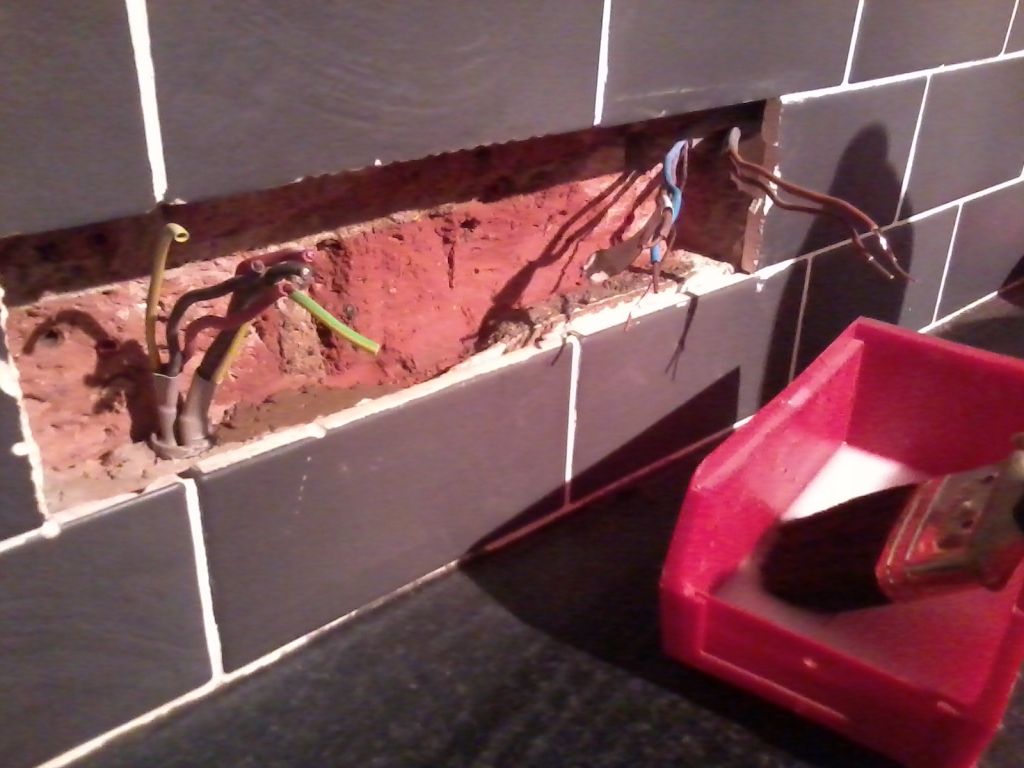
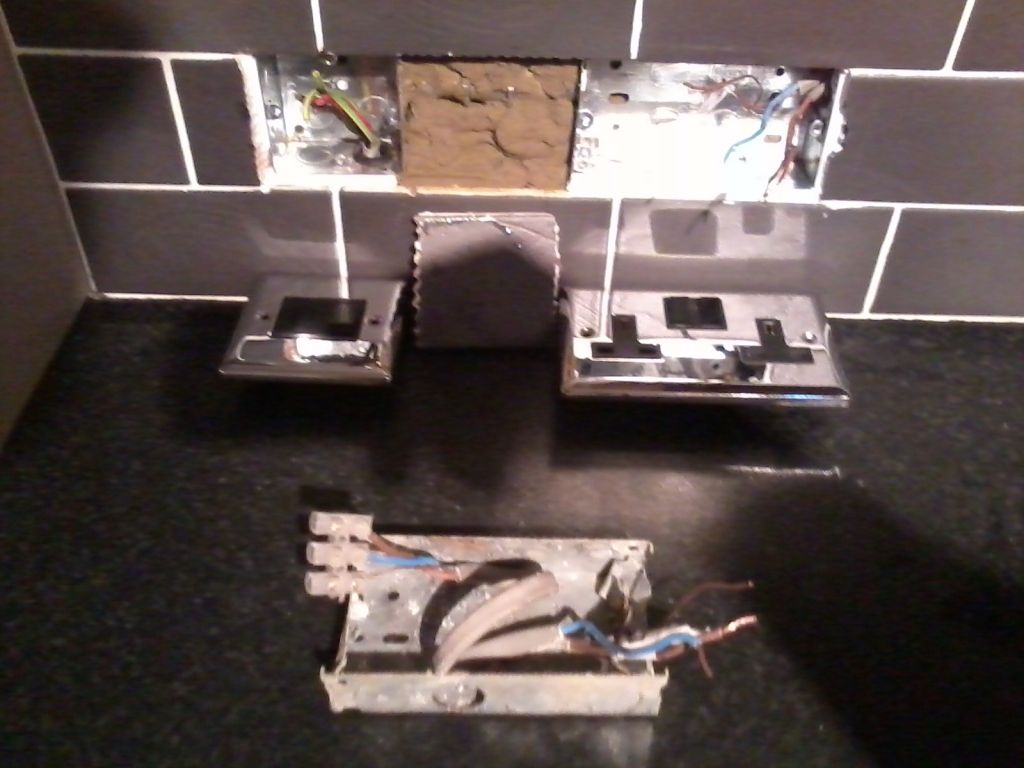
The "fun" continues. A 2G socket what looks like (and in fact is a spur) but what read closer to being on the ring. The fact that it in turn fed a further 2G socket and 2 FCU's I thought I'd put an FCU up front to cover the whole lot. So..............remove tile expecting to simply knock out for the new FCU back box and we find this:

PB100076.jpg


PB100077.jpg


PB100080.jpg


PB100078.jpg


Quite why they didn't leave the original socket in place I don't know! Guessing they wanted it equi-distant from the worktop end and sink. The fact it brought the new socket closer than 300mm to the sink etc. Nice how they have hammered the old box flat!

 
That doesn't make your job of putting it all right (without totally trashing the tiling) any easier does it?

I wonder what else lurks under the tiling in other places

 
That doesn't make your job of putting it all right (without totally trashing the tiling) any easier does it?

I wonder what else lurks under the tiling in other places
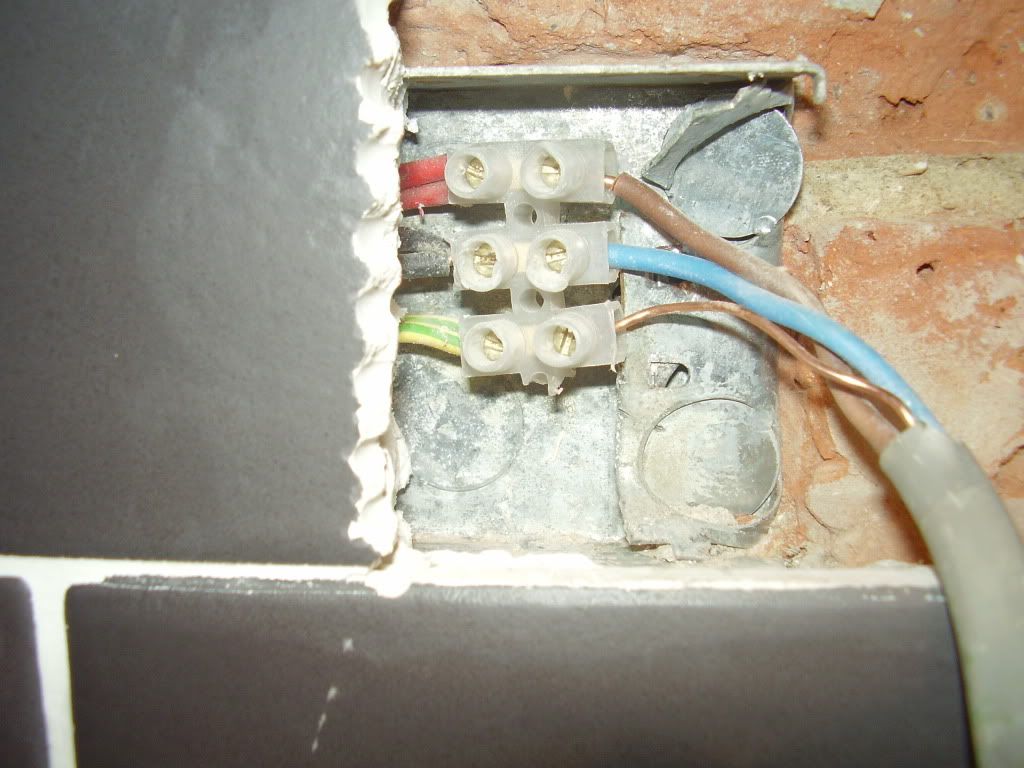
Got to source some more tiles too! 150x75mm, black'ish is as far as I've got! I'm hoping that the ring feeding that connector block came vertically up into the original socket position. At least if I put my FCU there, I'll be some way to proper cable zones!

 
If there was ever a candidate for cowboy the person that did that is number one, what an absolute mess of an install :shakehead

 
TIP to anyone reading this.

When you tile your kitchen / bathroom or whatever, KEEP some spare tiles.

A good out of the way place to store them is under one of the kitchen units behind the kick board.

 
TIP to anyone reading this.

When you tile your kitchen / bathroom or whatever, KEEP some spare tiles.

A good out of the way place to store them is under one of the kitchen units behind the kick board.
Yes! It's typical, under the bath loads of spare tiles including the border ones. In the kitchen nowt and I've been under all the cupboards tracing the cabling. Have found socks, bits of carpet, cutlery, packaging from plumbing and electrical fittings etc etc. The date on some of the unused mastic tubes under the bath is 2008. The bathroom is as new/modern as the kitchen. Funny how the vendors stated on the search "No" to the question has any electrical work has been done since 2005. ;)

 
And that is the problem who actually cares what anybody does. Unless people get prosecuted it will carry on and probably will get worse.

 
More delving, more WTF moments - excuse the pic quality taken with.an old Olympus 5MP that lives in the tool bag:

Anyway, you'll remember the earlier pic with the nice T&E / flex joint for the extractor? After careful application of Mr Stanley to remove the duct tape we find the L & N neatly twisted together. Insulation achieved by 2 (possibly 2 and half) wraps of white insulating tape:

PA280038.jpg


Until I'd removed the back of the cupboard, hoovered underneath and removed the various debris (socks, plastic plate, lumps of carpet, bits of 3"x2" etc, etc) I wasn't sure how the fridge freezer, leccy oven and igniter for the hob were fed. KNOW I know! Single, socket far left on wall in back of cupboard. Make yourself a loom from some 2.5 flex. So.............plug one end into single wall socket - take length of flex to 1st surface mount box (mounted upside down). Into that wire the hob and oven supplies on a single 13A plug top. From the back of the 1st surface mount box simply take a length to feed another socket for the fridge! I suppose it is all on a 13A fuse but....................

PA280015.jpg


PA280017.jpg


Access into the "cavity" is fun:

PA280019.jpg


What did I find? Imagine your flat on your back looking up:

PA280022.jpg


Now, back to that extractor. Aside from the quality joint............how exactly is it wired? Well, first take a twin brown 1.5 feed from the double below and to the right up to an FCU in the cupboard. Off the FCU feed the under cupboard strip light AND take more twin brown to the extractor. Simples!

PA280043.jpg


PA280041.jpg


Cable routes? I'm guessing the shortest distance between two points? Well it DOES save on cable.................................
The electrics are so dangerous it has blown that blokes head off LOL :coat

 
That doesn't make your job of putting it all right (without totally trashing the tiling) any easier does it?

I wonder what else lurks under the tiling in other places
Should have added that at first glance you think it's not too bad - most of the sockets are fed by 20mm conduit from under the floor - the lengths though stop short just under the floor. A mix of black iron, original I think and pvc, later.

PA280020.jpg


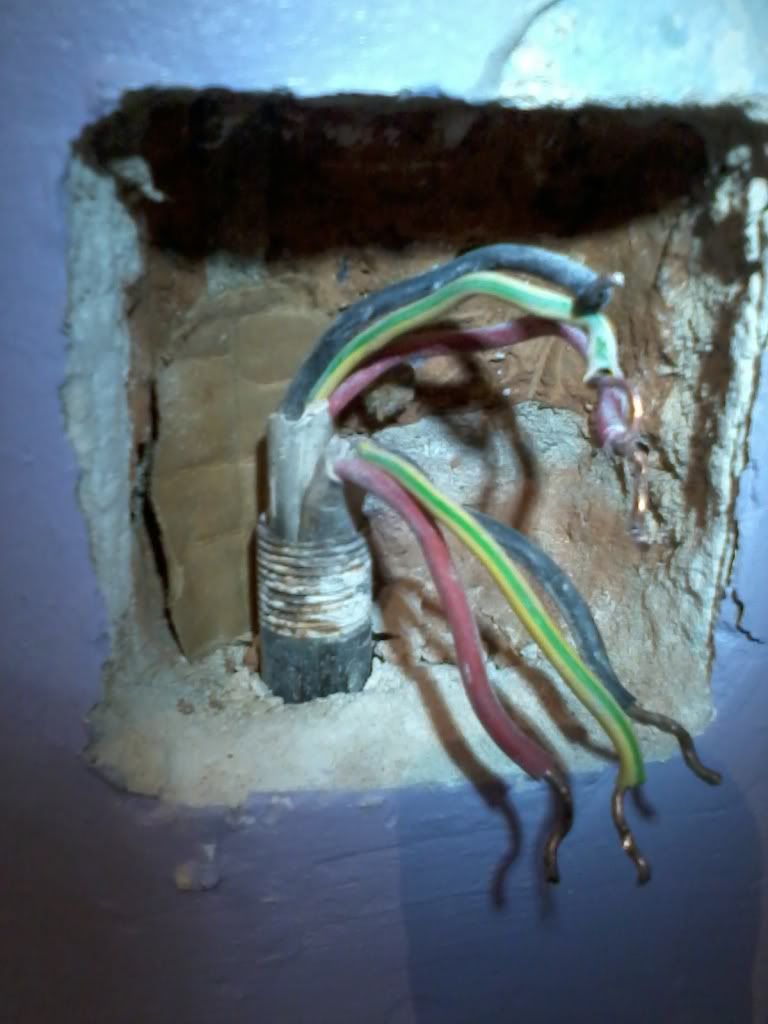
But where they bring the iron into the back boxes, no coupler / bush etc. This is a "good one" on some there's no threaded end and the tube is cut at 45 degrees.

Photo0134-1.jpg


Upstairs ring is now all made good. New back boxes, properly fixed. With albeit some extended wires where necessary! Crimped using heat shrink, self adhesive butts then heat-shrink over that. All cont, RFC, IR, polarity, Zs etc tests done and all good! Got to now split the downstairs and kitchen ring.

Photo0237.jpg


PA270004.jpg


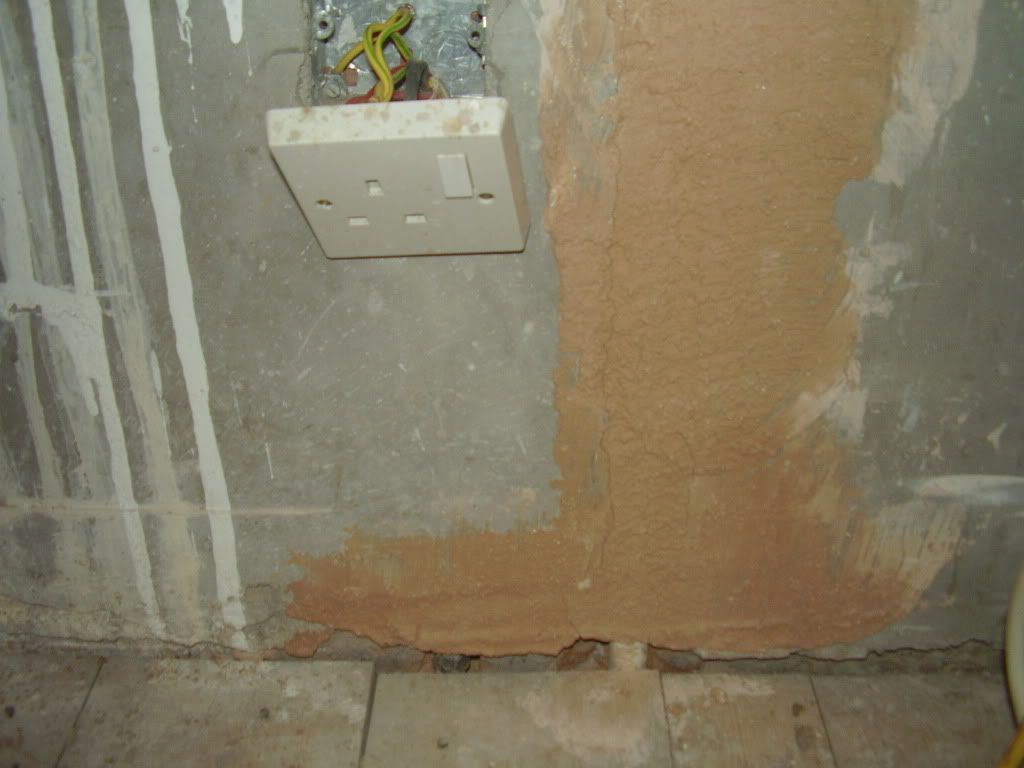
And back to that nasty kitchen socket! More digging.......weird this white stuff, like a cross between expanding foam and polystyrene, like a lightweight chalk. Anyway found the original socket fed in 20mm black coming up from the floor. So, noting it was a 2G back box buried, I measured "where" and drilled a line of holes in the tile. Managed to get this lump of tile off in one piece! Though I do have a guy sending me a sample tile to see if he can match them. Old, bent 2G back box out. Tided up the twin and earth ends. Fitted a new 1G and 2G box connected with 20mm galv fittings. Typically hadn't got the Hilmor or any conduit /dies with me. Did have some 20mm pvc and fittings but if going horizontal I like to do it in steel.............actually if going vertical I do too! So had a dig thru the bits and came up with 2 short bushes/3 couplers/2 nipples and a couple of lock nuts to join the boxes horizontally. Had to mess around and cut one coupler to get the spacing so I can reuse my saved bit of tile. A bit of muck, some plugs and screw and leave to set. So I'll now have a NEW FCU which will also correctly denote the vertical cable zone. This will feed two 2G sockets to the right. Sod the aeshetics I say!

I'm now wondering if the twin 1.5 brown (if properly sleeved to denote the neutral) that feeds an FCU in the cupboard for the (under cupboard) lights can in fact stay? Just looking at Appx.15.............can't see why not.

PB120083.jpg


PB120086.jpg


Photo0284.jpg


Photo0288.jpg


Nice!

However I'm not really getting the chain drilling and trashing tiles,,,,, because if you're careful you can remove the grout and prise the tiles off with a filler knife.. I've done this with 4x4, 10x8 and those "brick" tiles before without any issue

 
Nice!

However I'm not really getting the chain drilling and trashing tiles,,,,, because if you're careful you can remove the grout and prise the tiles off with a filler knife.. I've done this with 4x4, 10x8 and those "brick" tiles before without any issue
Was a case of needs must at the time. This is hopefully the only tile that'll need cutting and reckon I've gotten away with reusing the piece (those Volex polisjhed chrome fittings have masses of overlap on the edges). I needed to space these fittings as shown to line up the FCU with the safe zone drop. Otherwise I would have just butted the fittings close up.Got the multi-tool on other tiles tonight to take the grout out and as you say pretty much lifted them off in one piece. Didn't have the multi-tool the other night.

 
Was a case of needs must at the time. This is hopefully the only tile that'll need cutting and reckon I've gotten away with reusing the piece (those Volex polisjhed chrome fittings have masses of overlap on the edges). I needed to space these fittings as shown to line up the FCU with the safe zone drop. Otherwise I would have just butted the fittings close up.Got the multi-tool on other tiles tonight to take the grout out and as you say pretty much lifted them off in one piece. Didn't have the multi-tool the other night.
TBH it does look like you might get away with it

 
Top