- Joined
- Dec 25, 2011
- Messages
- 5,470
- Reaction score
- 80
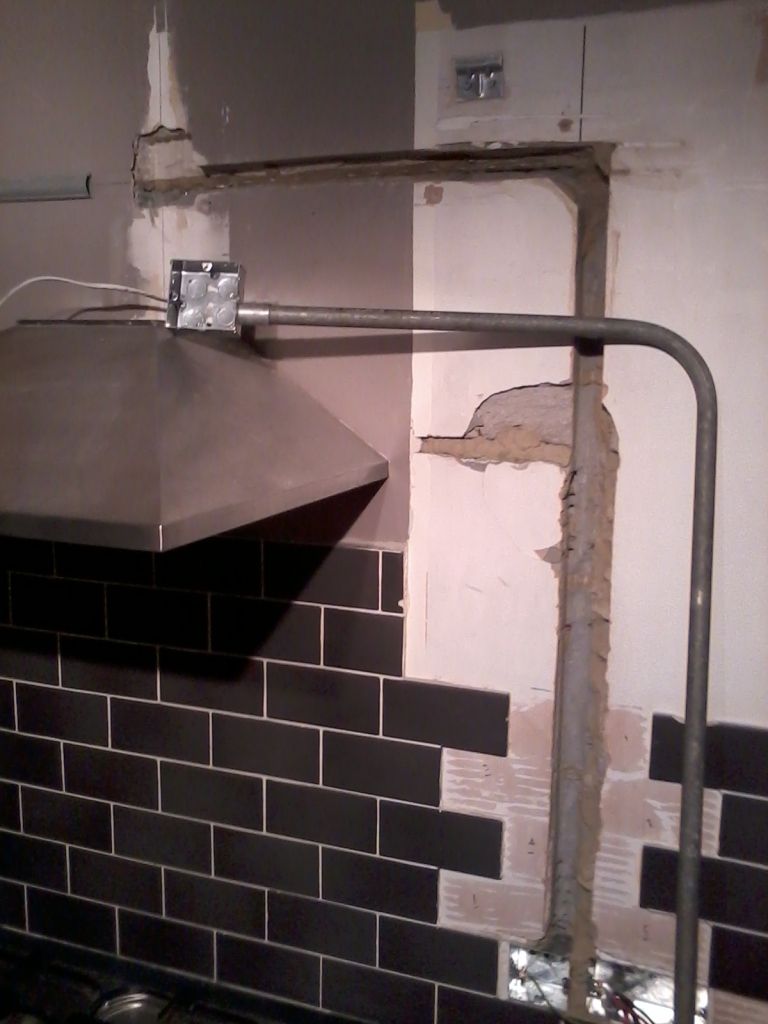
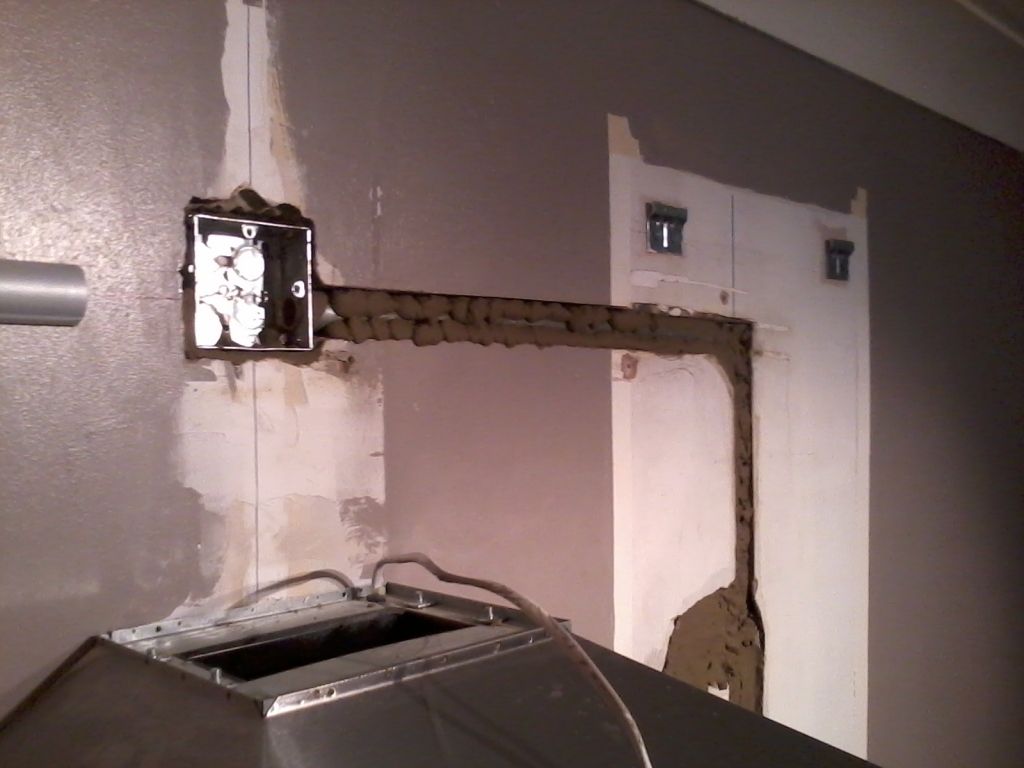
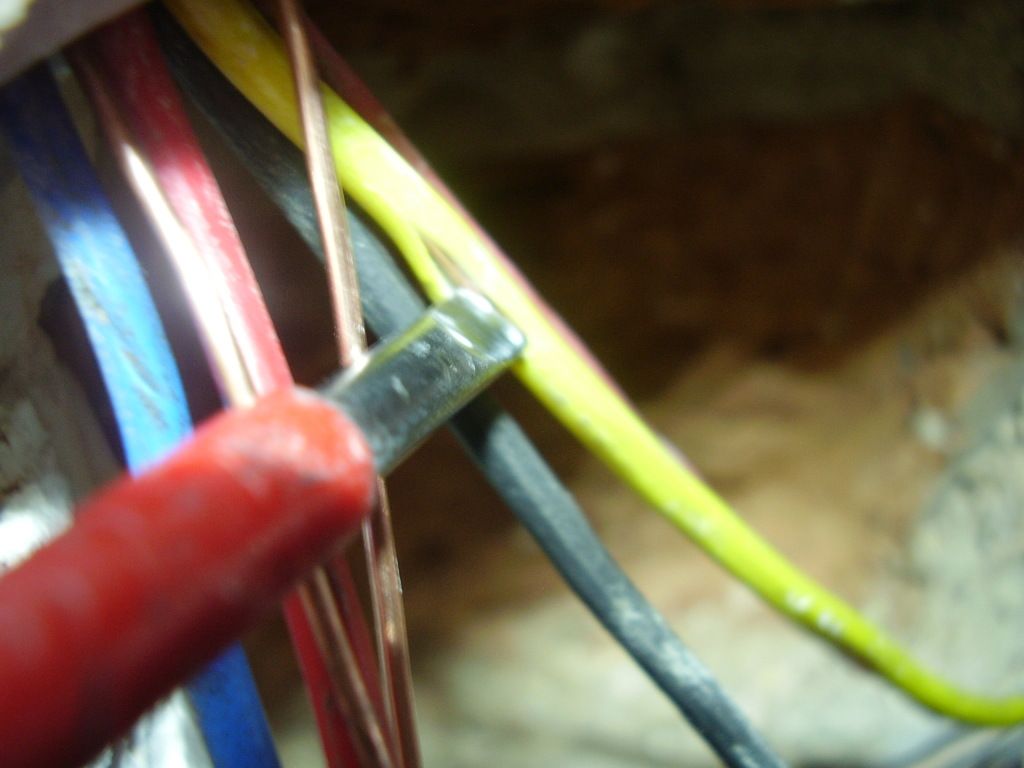
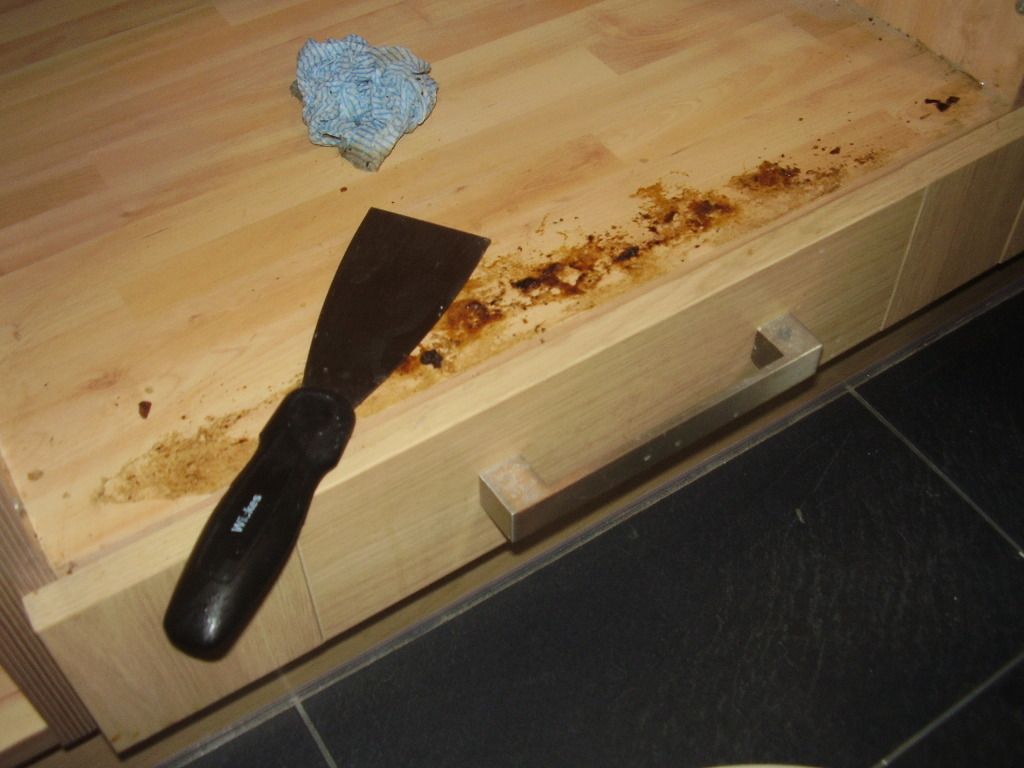
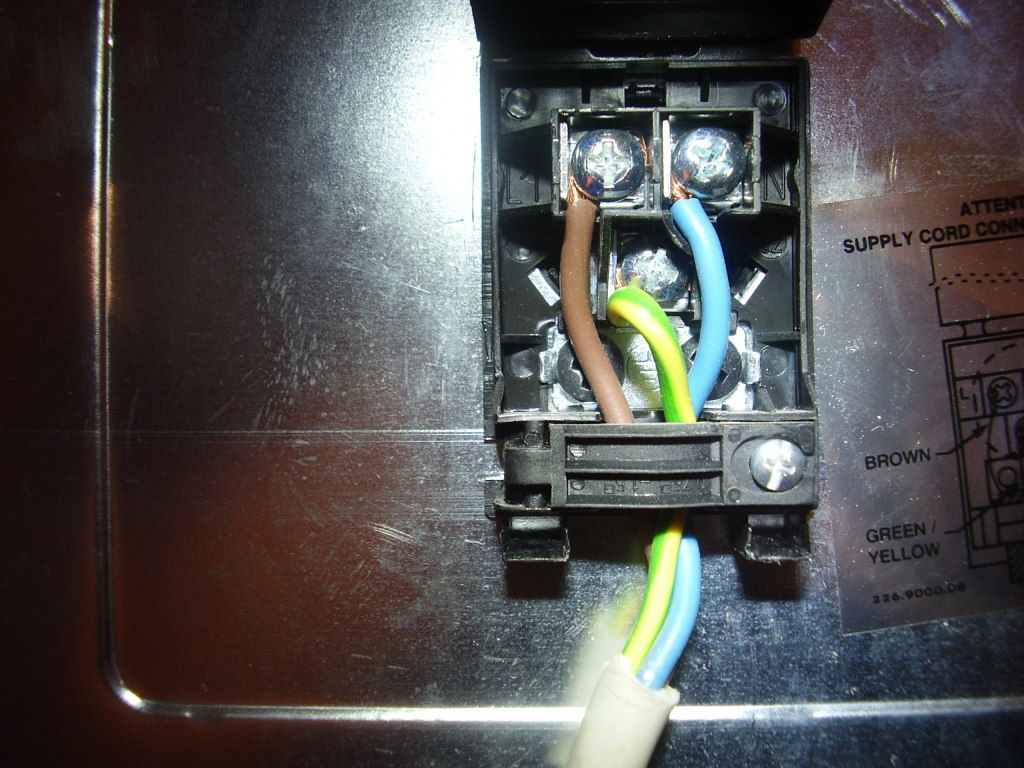
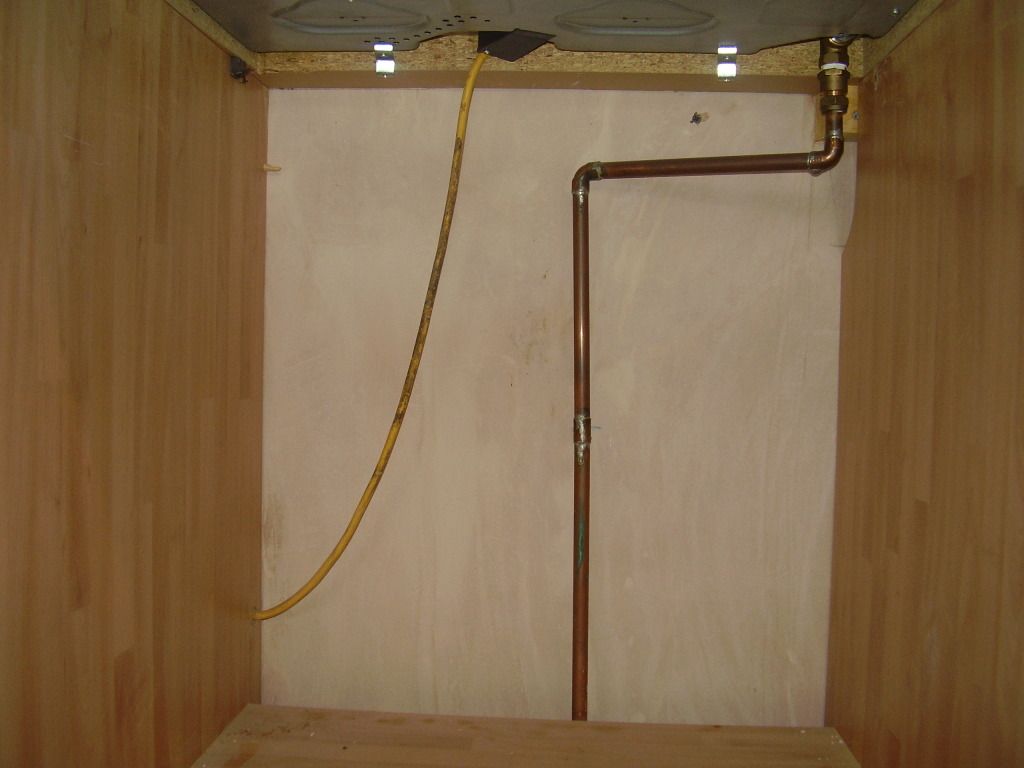
Is this called the "Zig Zag Zone"? So.........take twin brown 1.5 up behind the cupboard from the 2G socket then do a left. Into an FCU in the cupboard. Come back horizontally to the right...............then go up again...............turn left, not forgetting to nick the sheath and a core with the Phillips screw......carry on to the left then lose it somewhere (guessing a right angle) under the plaster...then up and pop out of the wall and join to flex as aforementioned:
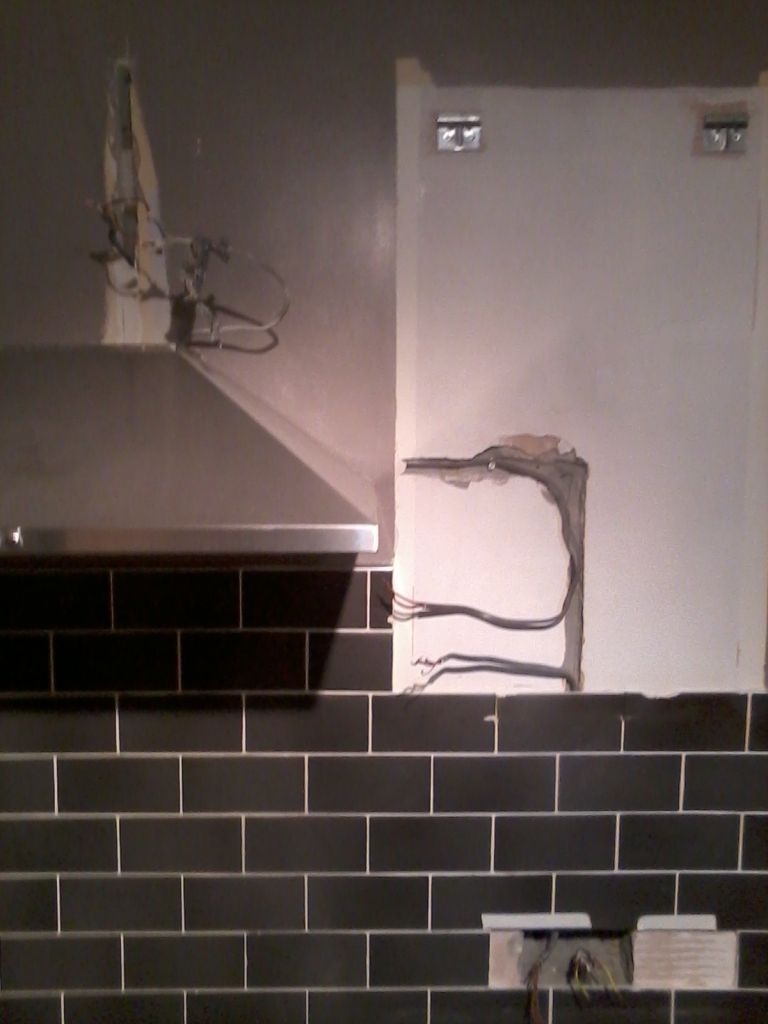
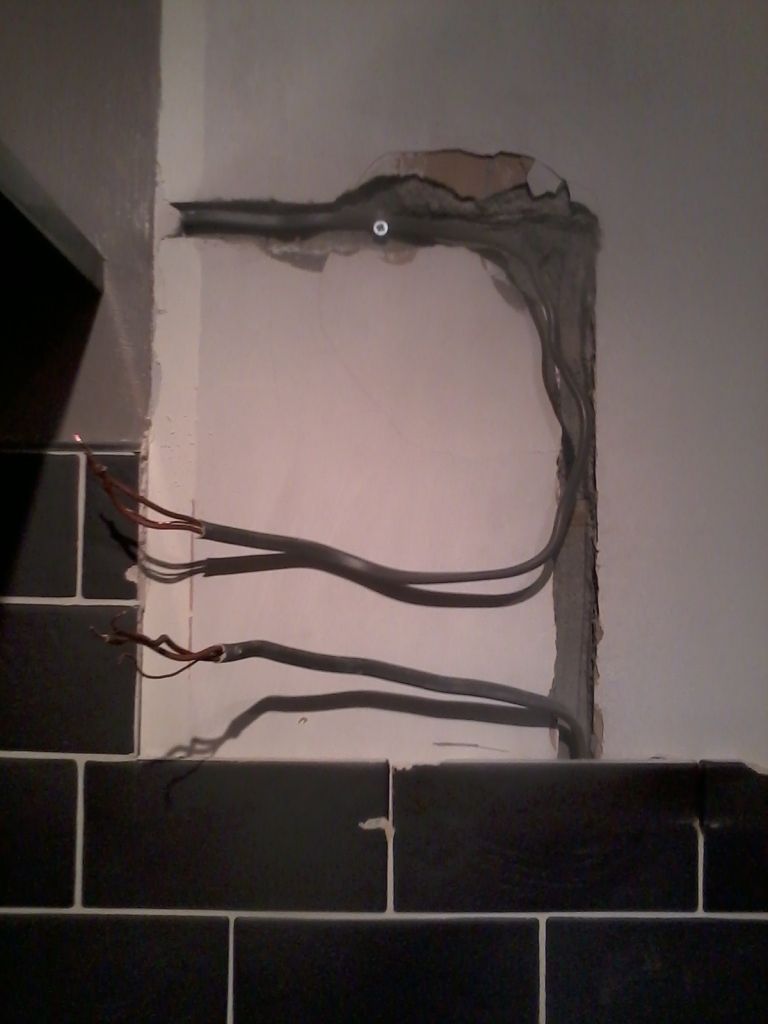
Never ceases to amaze how much time it takes to put right what's been badly done! Then there was this:
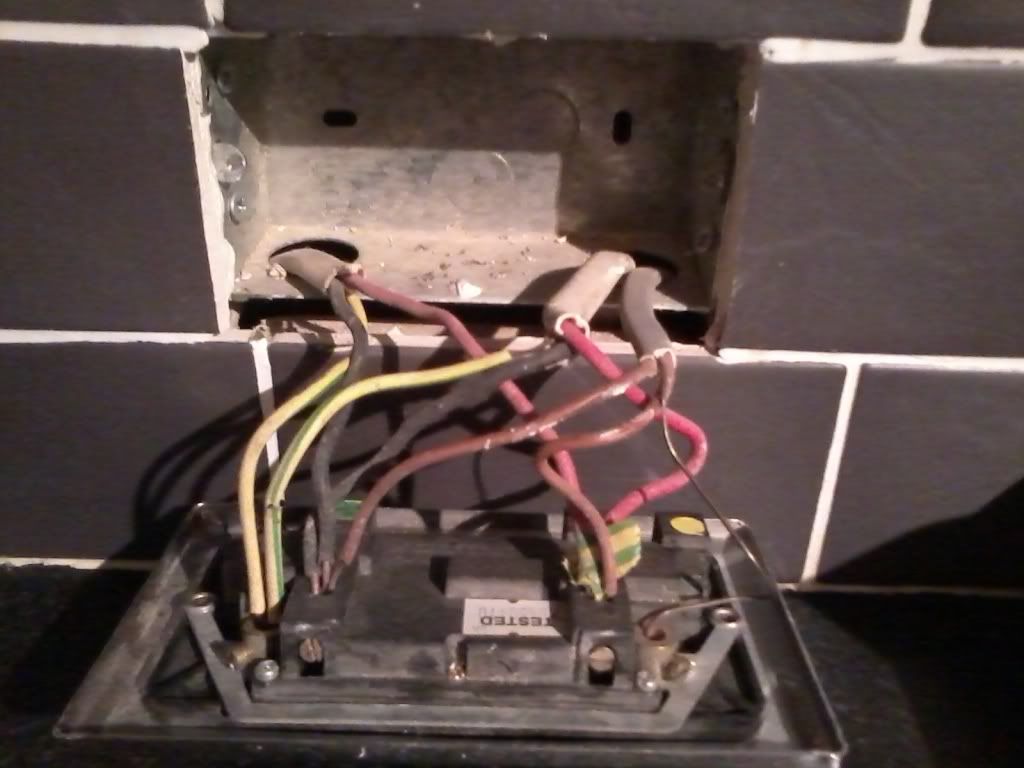
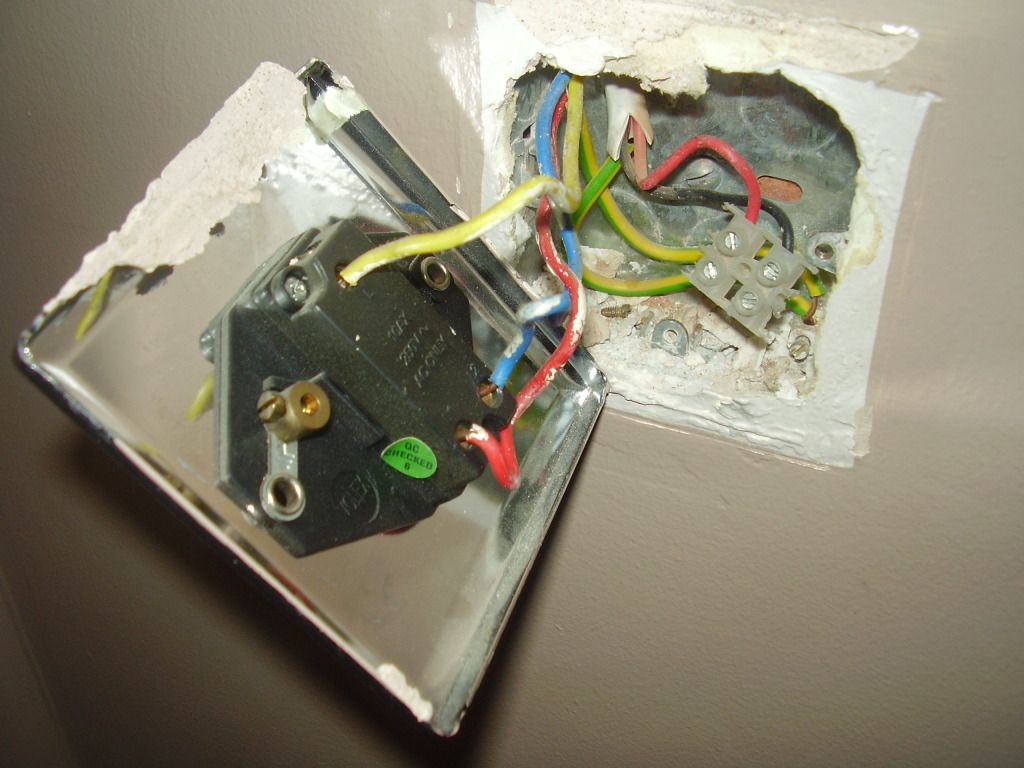
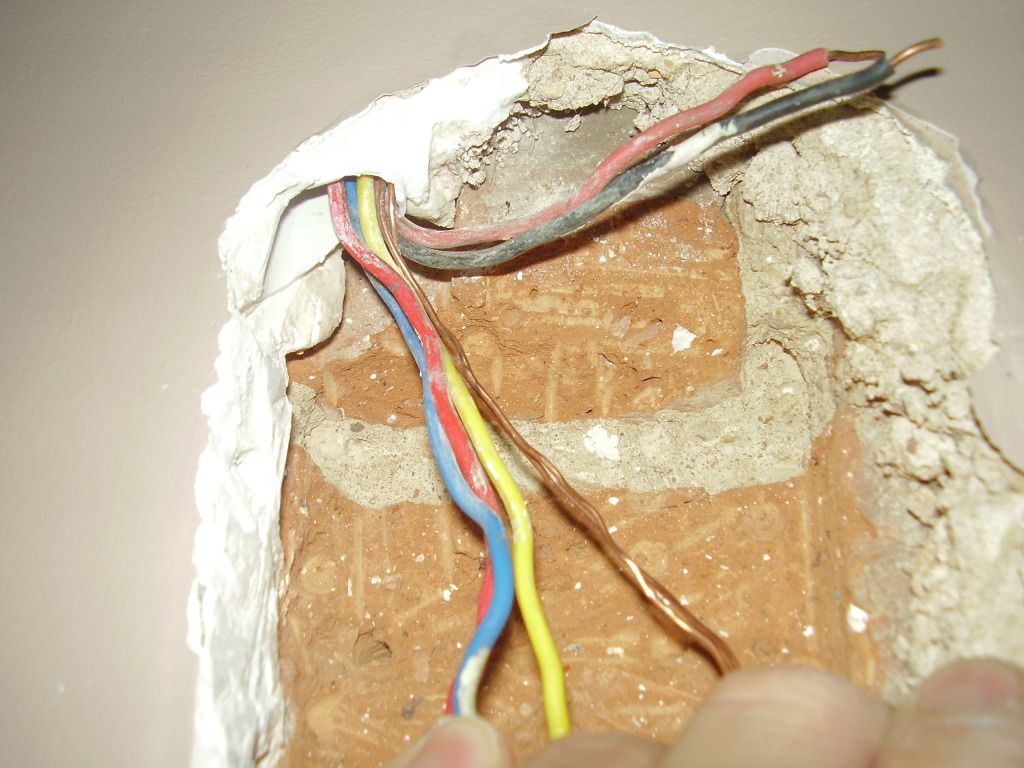
A 2G socket in an oversize hole in the wall, draughts actually felt through the gaps, on the ring, fed in 2.5 with a 1.5 (twin brown of course) spur to an FCU. A 40mm thick "wall" made up of 10mm of tile& muck / 12mm plasterboard/ 18mm chipboard. No grommets with the box chafing the T&E. And from behind:
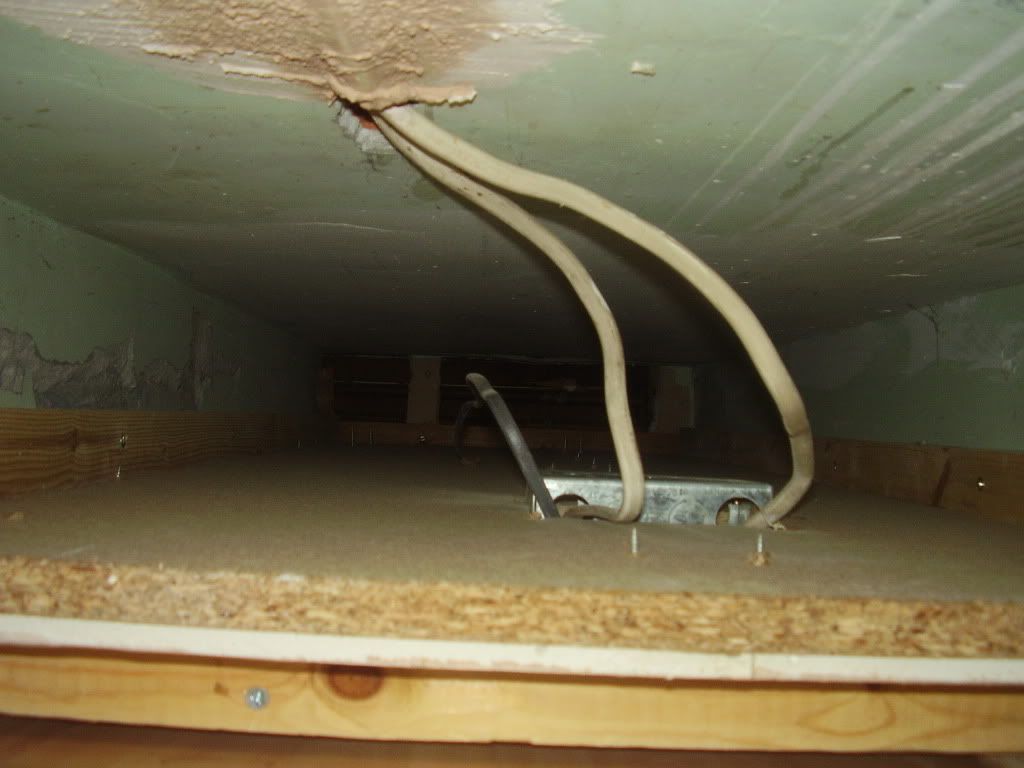
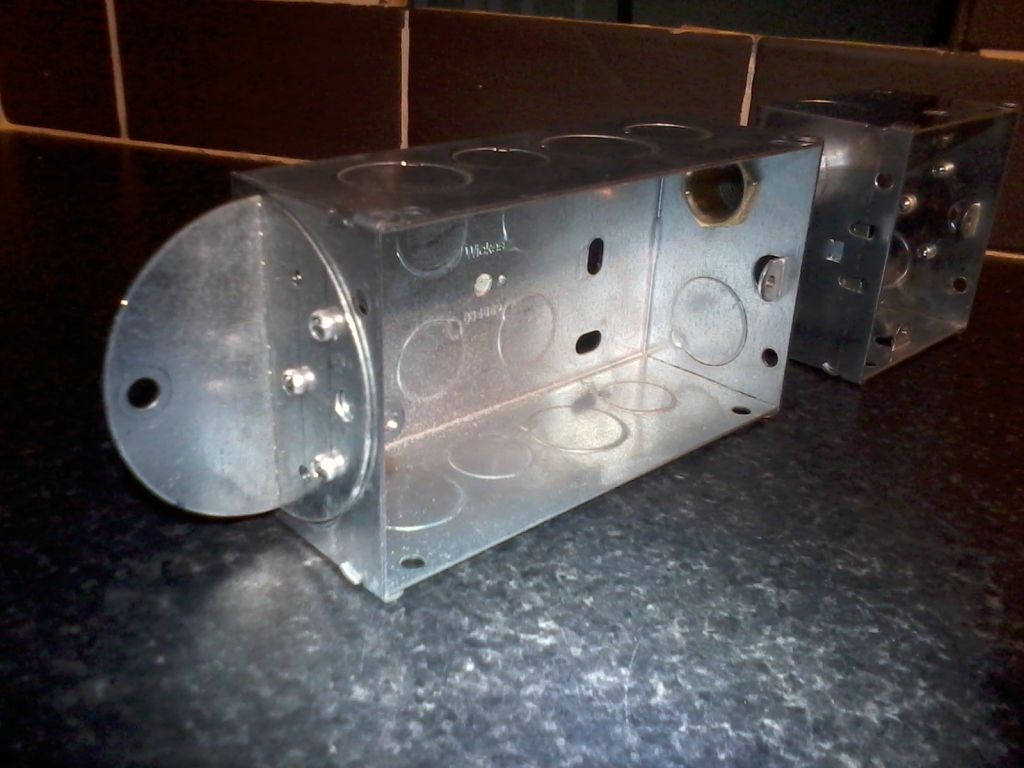
Made up a special "dual" box with some "lid" brackets:
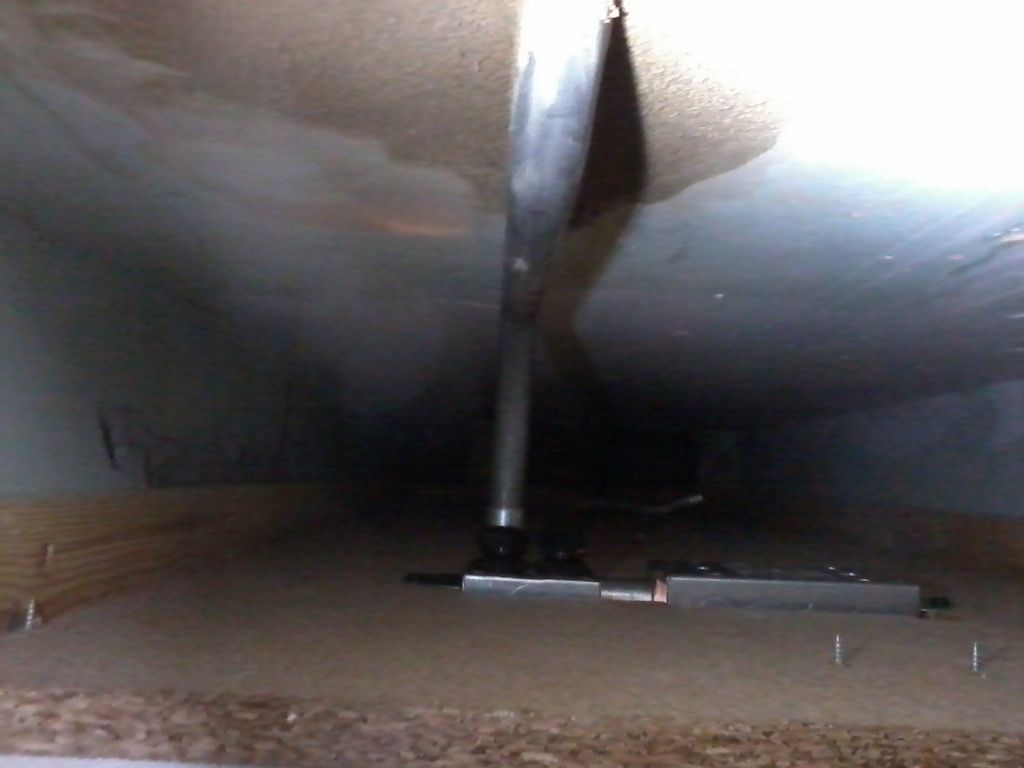
Getting there, with the cable now in 20mm galv. A bit tight working in there as the cavity is about 8" and lying on my back with nothing to support my head. Must lop those screw ends off!
All in with intumescent to close the gaps.


Never ceases to amaze how much time it takes to put right what's been badly done! Then there was this:

A 2G socket in an oversize hole in the wall, draughts actually felt through the gaps, on the ring, fed in 2.5 with a 1.5 (twin brown of course) spur to an FCU. A 40mm thick "wall" made up of 10mm of tile& muck / 12mm plasterboard/ 18mm chipboard. No grommets with the box chafing the T&E. And from behind:

Made up a special "dual" box with some "lid" brackets:

Getting there, with the cable now in 20mm galv. A bit tight working in there as the cavity is about 8" and lying on my back with nothing to support my head. Must lop those screw ends off!

All in with intumescent to close the gaps.
Last edited by a moderator:


